Picture this: I was halfway through a batch of my favorite banana bread, the batter already sticky and the oven timer ticking, when a rogue slice of banana slipped from my hand and landed on the kitchen counter. The splat was a slapstick reminder that even seasoned cooks can get a little dramatic. I stared at the banana, then at the flour bowl, and decided it was time to rewrite the rulebook for snack bars. The result? A peanut‑butter‑laden, banana‑sweeted oatmeal bar that feels like a hug in every bite. I’m about to share the recipe that turned a kitchen mishap into a snack‑time staple.
The aroma that fills the air when you mix the oats with peanut butter is like a warm campfire in a jar. The sound of maple syrup bubbling into the mix is a comforting hiss that tells you you’re on the right track. The texture of the bars—soft in the middle, slightly crisp on the edges—creates a delightful contrast that makes each bite memorable. The first chew releases a burst of nutty sweetness, followed by a subtle chocolate undertone that lingers. The finish is a gentle, sweet aftertaste that keeps you reaching for the next bar.
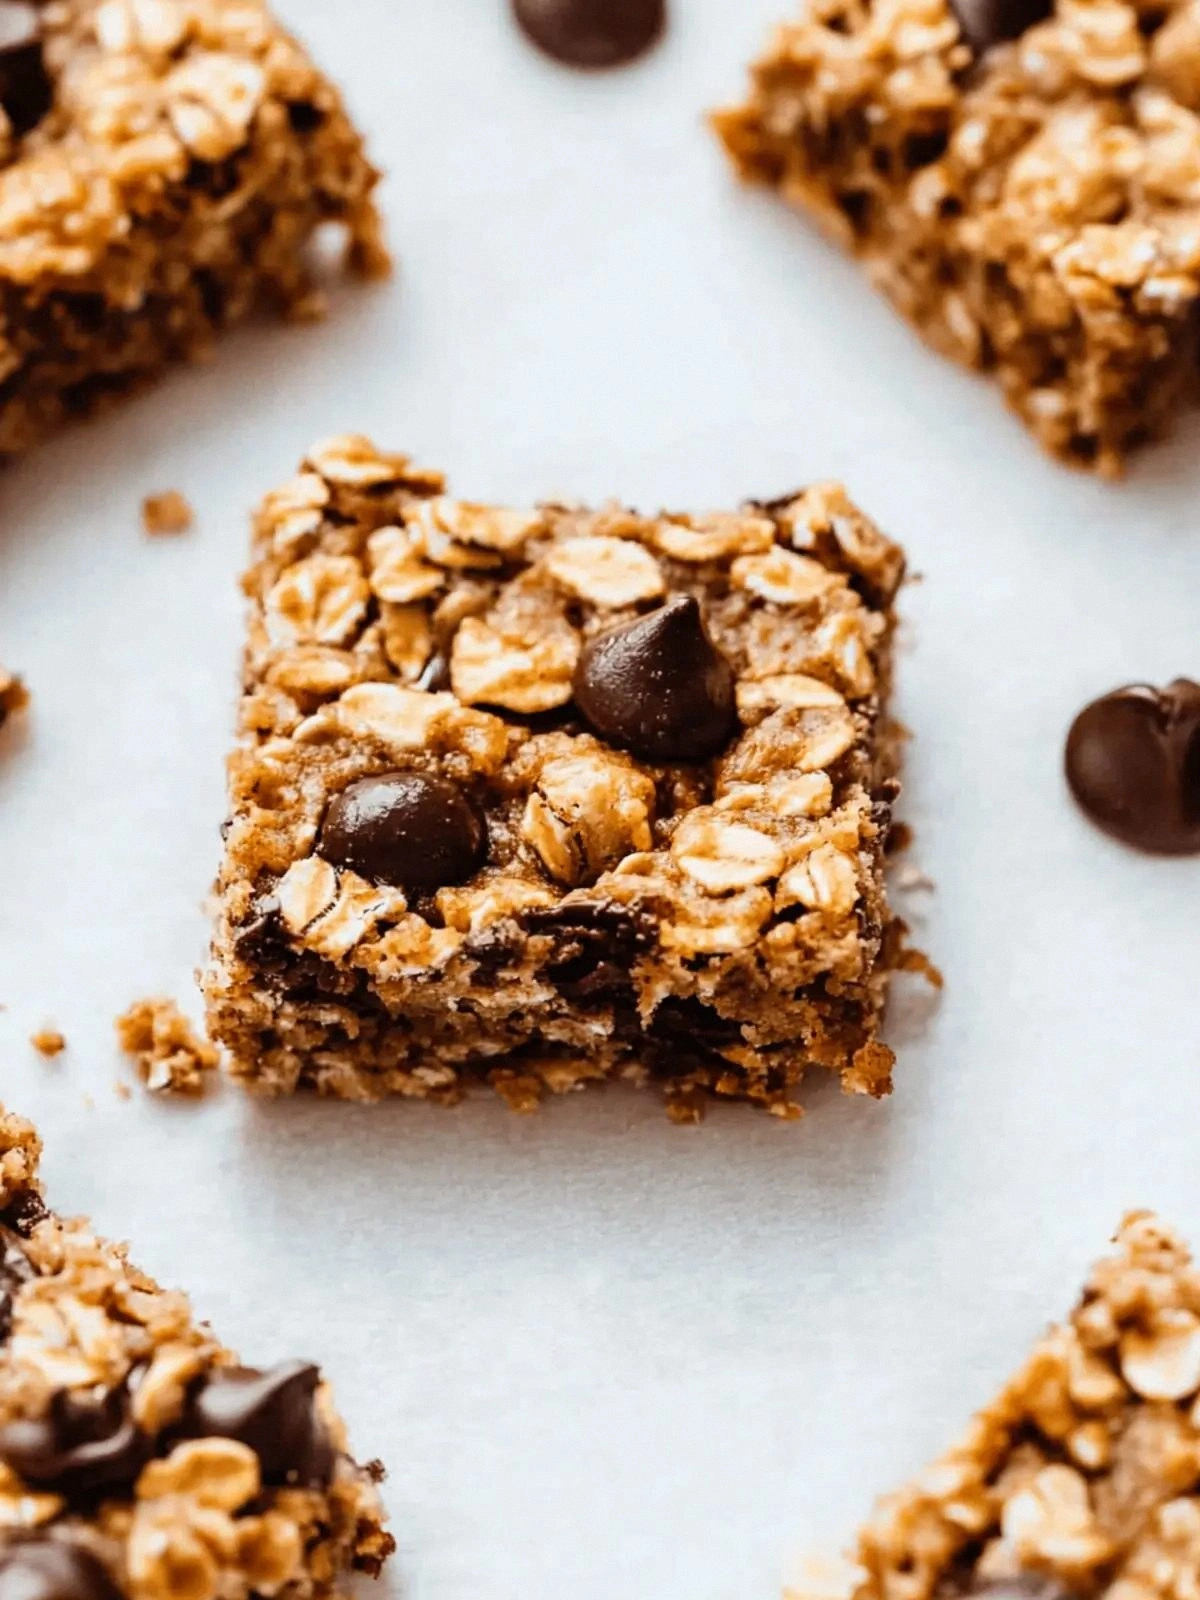
This version is a game‑changer because it balances indulgence with nutrition in a way that most snack bars fail to do. The oats provide complex carbs and fiber, while the peanut butter adds protein and healthy fats. The maple syrup keeps the sweetness natural, and the dark chocolate chips bring antioxidant power without the sugar overload. The addition of dried fruit adds chewiness and natural sweetness, and the chopped nuts give a satisfying crunch. Together, they create a bar that feels like a treat but actually fuels your day.
Now, here’s the twist that makes this recipe unforgettable: I sneak in a splash of vanilla extract right before baking, which transforms the whole flavor profile into a subtle, aromatic bouquet. The vanilla not only sweetens the mix but also enhances the chocolate’s richness, creating a symphony of flavors that dance on your palate. This subtlety is often overlooked in other recipes that rely solely on sugar or artificial flavorings. Trust me, that extra vanilla makes all the difference.
Let me walk you through every single step—by the end, you’ll wonder how you ever made it any other way. I promise you’ll be shouting, “I dare you to taste this and not go back for seconds!” before you even finish the first bar. This isn’t just a recipe; it’s a culinary revelation that will change how you snack forever.
Picture yourself pulling a tray of golden bars from the oven, the whole kitchen smelling incredible, and a stack of perfectly set bars ready to share with friends or stash in your lunchbox. The aroma alone can turn a mundane afternoon into a celebratory moment. I’ve got a few more tricks that’ll elevate this recipe to a whole new level, so stay with me, and let’s dive in.
What Makes This Version Stand Out
- Taste: The peanut butter provides a deep, nutty richness that pairs perfectly with the natural sweetness of maple syrup and the subtle bitterness of dark chocolate. The vanilla extract lifts the entire flavor profile, creating a fragrant, almost floral undertone that’s rare in snack bars. This combination delivers a balanced sweet‑savory experience that keeps your palate engaged.
- Texture: The oats give a chewy base, while the chopped nuts add a satisfying crunch. The applesauce keeps the bars moist, preventing them from becoming dry or crumbly. The dark chocolate chips melt slightly during baking, creating pockets of gooey chocolate that burst with each bite.
- Simplicity: No elaborate steps or hard‑to‑find ingredients. Everything you need is pantry‑friendly, and the process can be completed in less than 30 minutes. Even if you’re a novice, the clear instructions and visual cues will guide you to success.
- Uniqueness: The combination of dried fruit and applesauce is a secret weapon that adds natural sweetness and moisture without extra sugar. The baking powder and cinnamon create a subtle lift and a warm, spiced aroma that sets this recipe apart from standard oatmeal bars.
- Crowd Reaction: Friends who’ve tried these bars rave about how they’re “chewy, sweet, and surprisingly wholesome.” They’re perfect for parties, school lunches, or a quick energy boost during a busy day.
- Make‑Ahead Potential: Once baked, the bars keep well for up to a week in an airtight container at room temperature, or up to a month when frozen. They’re the ultimate grab‑and‑go snack for on‑the‑go lifestyles.
Inside the Ingredient List
The Flavor Base
Gluten‑free oats form the backbone of these bars, offering a hearty, nutty flavor that pairs beautifully with peanut butter. Their coarse texture keeps the bars from becoming mushy while still providing a smooth bite. If you’re not gluten‑free, you can use regular rolled oats without any changes to the recipe.
The Texture Crew
Peanut butter and applesauce work together to bind the oats and give the bars a moist, cohesive structure. The peanut butter’s natural oils coat the oats, creating a silky mouthfeel, while the applesauce adds a subtle fruitiness and keeps the bars from drying out. Swapping the applesauce for banana puree gives a sweeter, fruitier profile.
The Unexpected Star
Maple syrup is the sweetener of choice, adding a rich, caramel-like sweetness that enhances the overall flavor. It’s also a natural source of antioxidants, which makes the bars more healthful than refined sugar. If you prefer a lower-sugar option, try a splash of honey or a sugar substitute that can withstand heat.
The Final Flourish
Dark chocolate chips and dried fruit add bursts of flavor and texture that elevate the bars beyond plain oatmeal. The chocolate’s bitterness balances the sweetness, while the dried fruit introduces chewy, juicy pockets that melt in your mouth. A pinch of baking powder and a teaspoon of cinnamon give the bars a subtle lift and a warm, spiced aroma that’s hard to resist.
Everything's prepped? Good. Let's get into the real action.
The Method — Step by Step
- Preheat your oven to 350°F (175°C) and line an 8‑by‑8 inch baking pan with parchment paper. The parchment ensures easy removal and keeps the bars from sticking. Keep the oven rack in the middle to promote even baking. This step sets the foundation for a perfectly baked batch.
- In a large mixing bowl, combine the gluten‑free oats, baking powder, and cinnamon. Stir until the dry ingredients are evenly distributed, ensuring that the baking powder is fully incorporated. This dry blend creates a light, airy base that will rise slightly during baking. The cinnamon also infuses a warm, aromatic undertone.
- Add the peanut butter, maple syrup, and vanilla extract to the dry mixture. Use a rubber spatula or wooden spoon to fold the wet ingredients into the dry until the mixture is thick and clumpy. The mixture should hold together when pressed between your fingers. If it feels too dry, add a splash of milk or almond milk to reach the right consistency.
- Fold in the dark chocolate chips, chopped nuts, and dried fruit. Make sure each piece is evenly distributed so that every bite delivers a balanced flavor profile. The chocolate chips should be evenly dispersed to avoid clumping. This step adds the final layers of texture and taste.
- Press the mixture firmly into the prepared pan, creating an even layer. Use the back of a spoon or a flat spatula to smooth the surface. A compacted base ensures the bars hold together when sliced. The more even the layer, the cleaner the cuts later.
- Bake for 20 minutes, or until the edges turn a golden brown and the center is set. The bars should emit a warm, toasted aroma that signals readiness. If you prefer a crisper texture, bake for an additional 2–3 minutes. This is the moment of truth.
- Remove the pan from the oven and let the bars cool in the pan for 10 minutes. This cooling period allows the bars to set and makes slicing easier. The bars will still be hot, so be cautious when cutting. A clean knife will give you crisp, even slices.
- Place the pan on a wire rack and let the bars cool completely, about 30 minutes. Once cooled, lift the bars out of the pan using the parchment. Cut into squares or rectangles, depending on your preference. The bars should hold together without crumbling.
- Store the bars in an airtight container at room temperature for up to a week, or freeze them for up to a month. For best flavor, wrap each bar individually in parchment or plastic wrap before freezing. When you’re ready to eat, thaw at room temperature or microwave for 10–15 seconds. Enjoy the same great taste as when they were freshly baked.
That’s it — you did it. But hold on, I’ve got a few more tricks that’ll take this to another level.
Insider Tricks for Flawless Results
The Temperature Rule Nobody Follows
Many bakers bake at a higher temperature, assuming it will speed up the process, but this can lead to uneven browning and a dry center. Baking at 350°F (175°C) allows the bars to rise gently and develop a golden crust while keeping the interior moist. Keep the oven rack centered to avoid over‑browning the edges.
Why Your Nose Knows Best
The aroma of baking bars is a reliable indicator of doneness. When the scent turns from sweet to nutty and slightly toasted, the bars are ready to come out. Trust your nose; it’s more accurate than a timer for this type of baking.
The 5‑Minute Rest That Changes Everything
After baking, let the bars rest in the pan for 5 minutes before transferring them to a wire rack. This brief rest allows the structure to set, reducing the risk of cracking when you cut them. The bars will be more cohesive and easier to slice cleanly.
The Perfect Parchment Trick
If you’re worried about the bars sticking to the parchment, lightly oil the paper before laying it in the pan. A thin coat of neutral oil will keep the parchment from becoming tacky, ensuring a smooth release of the bars.
The Sweet Spot for Dry Fruit
If you’re using dried fruit that’s too chewy, consider soaking it briefly in warm water or apple juice. This softens the fruit, making it easier to blend into the batter without adding excess moisture.
Creative Twists and Variations
This recipe is a playground. Here are some of my favorite ways to switch things up:
Cocoa‑Infused Delight
Add 1/4 cup cocoa powder to the dry mix for a chocolatey twist. The cocoa deepens the chocolate chips’ flavor and adds a slight bitterness that balances the sweetness. This version is perfect for chocolate lovers who want a richer taste.
Spiced Pumpkin Surprise
Replace the dried fruit with 1/2 cup pumpkin puree and add 1 teaspoon pumpkin pie spice. The pumpkin adds moisture and a subtle sweetness, while the spice mix gives a warm, autumnal flavor. This variation is ideal for fall cravings.
Zesty Citrus Burst
Add zest from one orange and a tablespoon of orange juice to the batter. The citrus brightens the flavor profile and cuts through the richness of the peanut butter. This version feels lighter and more refreshing.
Almond‑Butter Upgrade
Swap peanut butter for almond butter for a different nutty flavor. Almond butter also offers a slightly sweeter taste and a lighter texture. This variation is great for those who want to vary the nut profile.
Tahini Twist
Replace the peanut butter with tahini for a Middle Eastern flair. Tahini adds a subtle, nutty, slightly bitter flavor that pairs well with dried apricots or figs. This version offers a unique taste and a different nutrient profile.
Storing and Bringing It Back to Life
Fridge Storage
Place the bars in an airtight container at room temperature for up to a week. The bars will stay fresh, but be sure to keep them away from strong odors, as they can absorb flavors quickly. If you prefer a firmer bite, chill them for 10 minutes before eating.
Freezer Friendly
Wrap each bar individually in parchment or plastic wrap before placing them in a freezer bag. Store in the freezer for up to a month. To thaw, leave at room temperature for 15 minutes or microwave on low for 10–15 seconds. The bars retain their texture and flavor when properly stored.
Best Reheating Method
When reheating frozen bars, add a tiny splash of water or milk before microwaving. The added moisture steams the bars back to a soft, chewy texture. Warm them in the oven at 300°F for 5 minutes if you prefer a crisp exterior.