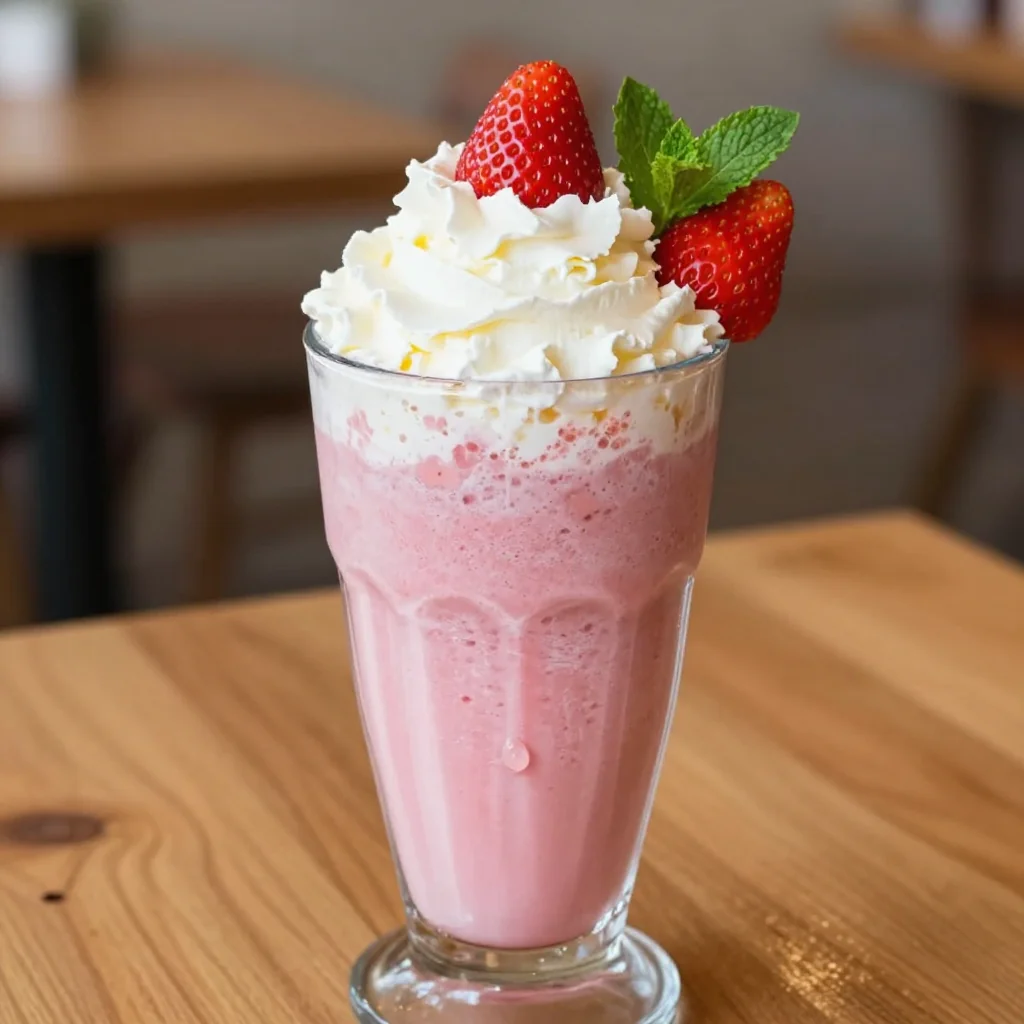
Picture this: a frantic Saturday afternoon, the kids are screaming for something sweet, the pantry looks like a desert, and you’ve just burned the last batch of cookies you attempted. I was standing there, arms crossed, feeling the weight of disappointment, when my roommate tossed a half‑dozen strawberries onto the counter like a dare. I stared at those ruby jewels and thought, “What if I could turn this mess into a dessert that feels like a celebration in a cup?” That very moment sparked the birth of what I now swear is the ultimate quick strawberry shortcake cup—an answer to every last‑minute craving that also doubles as a show‑stopper for unexpected guests.
The kitchen instantly transformed into a symphony of senses. The sweet perfume of fresh strawberries mingled with the buttery whisper of angel food cake, while the clink of a whisk against a chilled bowl sounded like tiny bells announcing a treat. My fingertips tingled as I sliced the berries, their juices seeping like liquid rubies onto the cutting board, and the cold cream swelled in the bowl, promising clouds of decadence. I could hear the faint hum of the refrigerator, feel the cool metal of the mixing bowl, and even taste the anticipation of that first bite—soft cake, tangy fruit, and airy cream dancing together.
Most strawberry shortcake recipes either demand a full‑blown oven session or a complicated assembly line that makes you question why you even wanted dessert in the first place. This version flips the script by using store‑bought angel food or pound cake as a ready‑made foundation, letting you skip the batter‑mixing drama entirely. The secret? A quick maceration of strawberries with just enough sugar to coax out their natural juices, and a whipped cream that’s sweetened and vanilla‑kissed to perfection, all layered in individual cups for that Instagram‑ready presentation.
And here’s the kicker: I’m about to reveal a tiny technique involving a splash of vanilla that turns the whipped cream from “good” to “mind‑blowing,” plus a clever way to keep the cake cubes from getting soggy before you serve. I dare you to taste this and not go back for seconds—because once you’ve experienced the contrast of fluffy cake, juicy berries, and silky cream, you’ll understand why this is hands down the best version you’ll ever make at home. Let me walk you through every single step — by the end, you’ll wonder how you ever made it any other way.
What Makes This Version Stand Out
- Flavor Explosion: The combination of naturally sweet strawberries and a whisper of vanilla‑infused whipped cream creates a layered taste that feels like summer in every bite.
- Texture Harmony: You get the light, airy crumb of angel food cake, the juicy burst of macerated berries, and the velvety cloud of cream—all in perfect balance.
- Speedy Simplicity: No baking from scratch, no complicated piping—just assemble, chill, and serve in under an hour.
- Versatile Base: Whether you choose angel food cake for feather‑light fluff or pound cake for a richer bite, the recipe adapts without losing its charm.
- Crowd‑Pleaser Factor: The individual cups make portion control effortless and look elegant on any dessert table, prompting endless compliments.
- Ingredient Quality: Fresh, ripe strawberries and cold, heavy cream are the stars; you’ll notice the difference immediately.
- Make‑Ahead Magic: Assemble the night before, refrigerate, and you’ll have a ready‑to‑serve dessert that tastes fresher than many just‑baked treats.
- Minimal Cleanup: One mixing bowl, a few spoons, and a handful of cups—your sink will thank you.
Inside the Ingredient List
The Flavor Base
Fresh strawberries: The star of the show! They bring that vibrant sweetness, perfect for a summer dessert. Choose ripe and juicy ones for the best flavor. If you pick strawberries that are too firm, the maceration won’t release enough juice, and you’ll lose that luscious syrup that coats the cake. A good tip is to give them a gentle squeeze—if they give a little, they’re perfect.
The Sweeteners
Granulated sugar: Just a touch of sugar helps to enhance the strawberries’ natural sweetness as they macerate. It also balances the slight acidity of the fruit, preventing any sour bite. Skip it and you’ll end up with a tart, under‑seasoned fruit layer that feels out of place.
Powdered sugar: This contributes to the sweetness of the whipped cream while ensuring a smooth, velvety finish. Because it dissolves instantly, you avoid any gritty texture that regular sugar would leave behind.
The Creamy Dream Team
Heavy whipping cream: Essential for a rich, luscious whipped cream topping. Keep it very cold for the best texture and stability. Warm cream won’t whip properly and will turn buttery instead of airy.
Pure vanilla extract: A splash of vanilla adds warmth and depth to the cream, elevating it from ordinary to extraordinary. It’s the subtle background note that makes the dessert feel sophisticated.
The Final Flourish
Store-bought angel food cake or pound cake: For convenience! Feel free to swap in your favorite cake type. Both options provide that light, fluffy base. Angel food cake gives a cloud‑like texture, while pound cake adds a buttery richness. If you opt for pound cake, consider a light dusting of powdered sugar to keep it from being too dense.
Everything's prepped? Good. Let's get into the real action...
The Method — Step by Step
First, wash the strawberries under cool running water, then pat them dry with a clean kitchen towel. Slice them into halves or quarters depending on size; I like a mix of both for visual appeal. Toss the sliced berries into a medium bowl, sprinkle the granulated sugar over them, and give everything a gentle toss. Let the mixture sit for 15‑20 minutes; you’ll notice the strawberries start to sweat, releasing a glossy, fragrant syrup that’s the foundation of this dessert. Pro tip: If you’re in a hurry, you can gently mash a few pieces with the back of a spoon to accelerate the maceration.
While the berries are macerating, prepare the whipped cream. Grab a chilled mixing bowl—metal works best because it stays cold longer—and add the heavy whipping cream. Add the powdered sugar and pure vanilla extract. Using an electric mixer on medium‑high speed, whip the cream until soft peaks form, then increase to high for stiff peaks. The texture should be glossy, holding its shape without wobbling. Watch Out: Over‑whipping turns cream into butter; stop as soon as peaks stand tall.
Now, tackle the cake base. If you’re using angel food cake, cut it into roughly 1‑inch cubes; for pound cake, aim for slightly smaller dice to keep the texture light. Place the cubes on a parchment‑lined baking sheet and give them a quick 30‑second toast in a hot, dry skillet—just enough to create a subtle crust without browning. This step prevents the cake from becoming soggy once the strawberry syrup is added later.
Grab your serving cups—clear glass or elegant ramekins work beautifully. Start by spooning a generous layer of cake cubes into the bottom of each cup, pressing lightly so they form a solid base. Then, drizzle a spoonful of the strawberry syrup over the cake, ensuring the syrup seeps into the nooks and crannies. The cake should look glossy but not drenched; you’re aiming for a balance that keeps each bite moist without turning mushy.
Next, add a second layer of cake cubes on top of the syrup, followed by another drizzle of strawberry mixture. This double‑layer technique builds depth, giving you that classic shortcake experience in a miniature format. If you’re feeling extra indulgent, sprinkle a pinch of flaky sea salt on the top layer to enhance the sweetness.
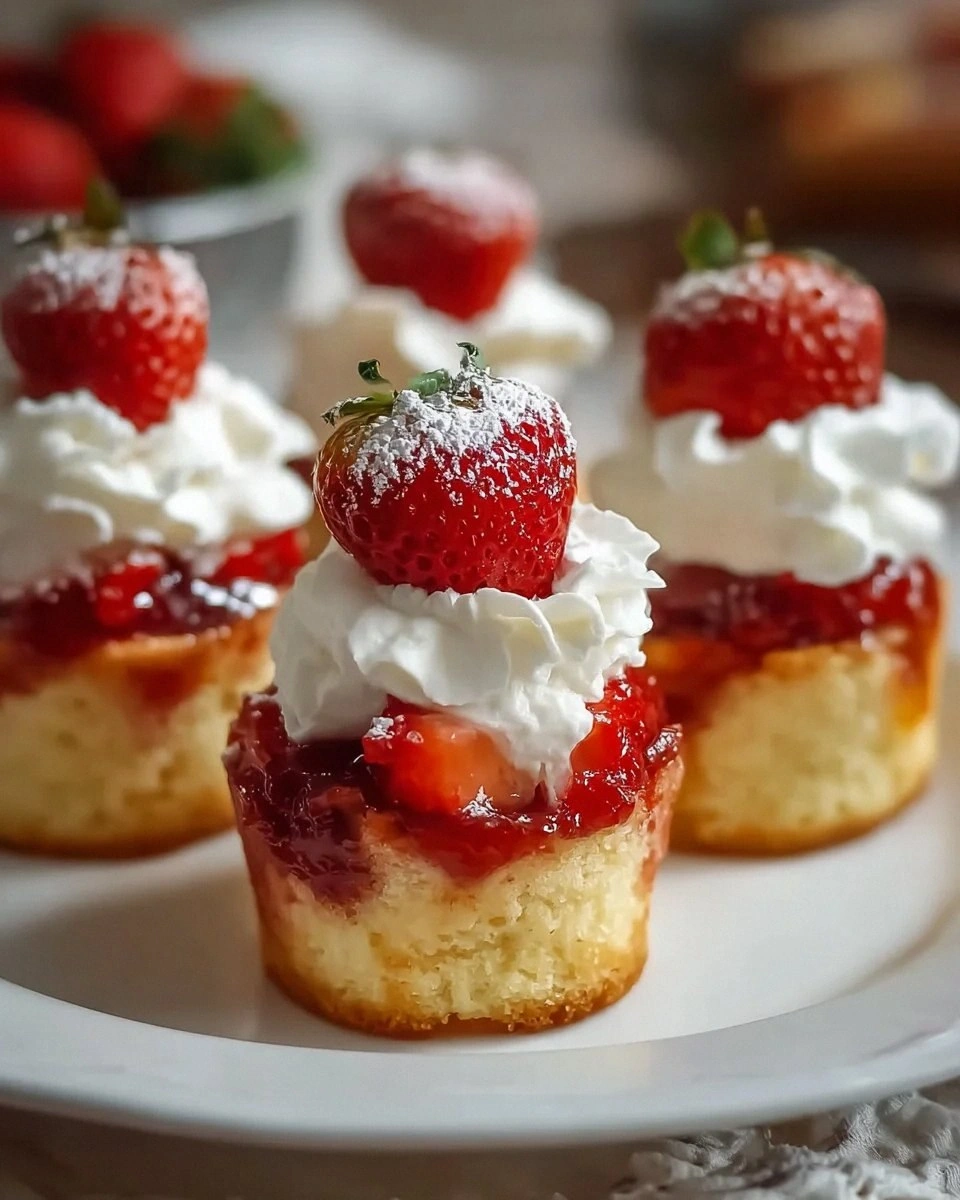
Finally, crown each cup with a generous dollop of the vanilla‑infused whipped cream. Use a piping bag for a polished look, or simply spoon it on with a large spoon for a rustic vibe. Finish with a few fresh strawberry slices and a light dusting of powdered sugar for that final sparkle. The visual contrast of pink berries, white cream, and golden cake is what makes this dish Instagram‑worthy.
Refrigerate the assembled cups for at least 30 minutes before serving. This chilling period allows the flavors to meld, the cream to firm up a bit, and the cake to absorb just enough syrup for a perfect bite. When you’re ready, pull them out, admire the layers, and dive in. That first forkful—soft cake, juicy strawberry, and cloud‑like cream—will make you exclaim, “I’ve never tasted anything like this!”
That's it — you did it. But hold on, I've got a few more tricks that'll take this to another level...
Insider Tricks for Flawless Results
The Temperature Rule Nobody Follows
Always keep your heavy whipping cream, bowl, and whisk chilled. Warm equipment will cause the fat to separate, resulting in a thin, watery whipped cream that collapses quickly. I once tried whipping cream straight from the fridge without pre‑chilling the bowl and ended up with a soupy mess—lesson learned. Pop everything in the freezer for 10 minutes, then whip; the peaks will be glossy and stand tall for hours.
Why Your Nose Knows Best
When the strawberries finish macerating, give them a quick sniff. If you catch a faint hint of acidity, add a pinch more sugar; if the scent is already sweet and fragrant, you’re good to go. Trusting your nose saves you from over‑sweetening, which can mask the fresh berry flavor. This sensory checkpoint is a game‑changer for balancing sweetness without a calculator.
The 5‑Minute Rest That Changes Everything
After you fold the whipped cream, let it sit untouched for five minutes before using it. This short rest lets the air bubbles stabilize, giving the cream a silkier mouthfeel. Skipping this step can make the cream feel a bit airy and less cohesive when layered with the cake.
Layering Like a Pro
When assembling, always start with a thin layer of syrup before the first cake cube. This ensures the cake absorbs moisture evenly rather than sitting on a soggy pool. I once poured all the syrup on top after stacking the cake, and the bottom cubes turned mushy while the top stayed dry—total disaster.
Freeze‑Proof Strawberries
If you need to prep ahead and freeze the strawberries, sprinkle them with a tiny dash of lemon juice before freezing. The acid prevents the berries from turning mushy when thawed, preserving that firm bite you love. Thawed berries should be drained briefly to avoid excess liquid.
Creative Twists and Variations
This recipe is a playground. Here are some of my favorite ways to switch things up:
Chocolate‑Covered Strawberry Shortcake Cups
Drizzle melted dark chocolate over the whipped cream and sprinkle with mini chocolate chips. The bitterness of cocoa balances the sweet berries, creating a sophisticated flavor profile that’s perfect for evening gatherings.
Lemon‑Zest Surprise
Add a teaspoon of freshly grated lemon zest to the strawberry maceration. The citrus brightens the fruit, giving the dessert a refreshing snap that pairs beautifully with the sweet cream.
Almond‑Infused Angel Food
Swap the plain angel food cake for an almond‑flavored version, or sprinkle toasted almond slivers on top of the whipped cream. The nutty crunch adds texture and a subtle depth that elevates the entire dish.
Berry Medley Mix‑Up
Combine strawberries with raspberries, blueberries, or blackberries for a colorful, multi‑berry version. Each berry brings its own acidity and sweetness, making every bite a new adventure.
Savory Spin
For a daring brunch twist, fold a pinch of sea salt and a dash of black pepper into the whipped cream, then top with a thin slice of prosciutto. The sweet‑savory combo is unexpectedly delightful.
Vegan Adaptation
Replace heavy whipping cream with chilled coconut cream, and use a plant‑based sugar. Choose a vegan angel food cake or a light sponge made from almond flour. The result is a dairy‑free version that still delivers on fluff and flavor.
Storing and Bringing It Back to Life
Fridge Storage
Cover the assembled cups loosely with plastic wrap and store them in the refrigerator for up to 24 hours. The whipped cream will stay firm, and the cake will retain its texture as long as the syrup isn’t overly abundant. If you notice the cake getting too soft, gently stir the syrup back into the berries and drizzle a fresh thin layer before serving.
Freezer Friendly
Separate the components before freezing: store the cake cubes in a zip‑top bag, the macerated strawberries in another container, and the whipped cream in a freezer‑safe tub. Freeze for up to 2 months. When ready to serve, thaw each part in the fridge overnight, then reassemble quickly.
Best Reheating Method
If you need to warm the dessert slightly—perhaps for a cozy winter twist—place the assembled cup in a microwave for 10‑15 seconds, but first add a tiny splash of water (about a teaspoon). The steam revives the cake’s softness without melting the whipped cream, delivering a warm‑and‑cool experience.