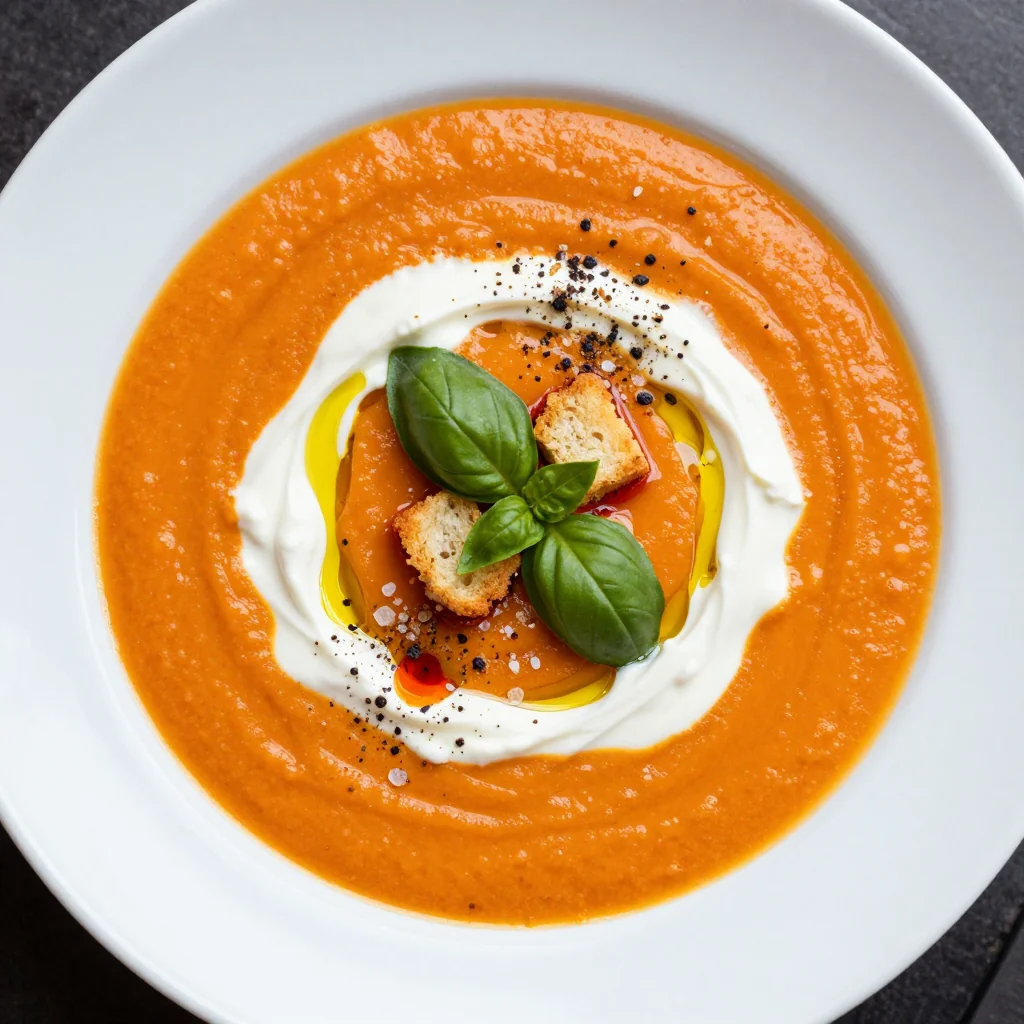
I was standing in the kitchen, staring at a half‑empty pantry, when my phone buzzed with a text from my friend: “You’ve got to try these peanut butter Oreo truffles.” I had never even heard of them. I laughed, but the curiosity was real. I imagined a bite that would feel like a crunchy cookie, a silky peanut butter core, and a hint of chocolate—an instant party trick for any gathering. I was about to test that imagination when I heard a clatter from the back of the fridge: a bag of Oreos was dropping, and I almost dropped my phone. The kitchen chaos turned into a culinary adventure, and the result was a truffle that would become my go‑to dessert for birthdays, game nights, or just an indulgent treat that doesn’t require a stove.
The moment I broke an Oreo, the sweet, buttery aroma hit me like a warm blanket on a cold night. The crunch was audible, a satisfying crack that promised texture. I could already taste the peanut butter, the creamy richness that would coat the inside of each bite. The air was filled with the faint scent of vanilla, a whisper of chocolate from the optional coating, and a hint of sea salt that would bring everything together. My senses were fully engaged, and I could feel the anticipation building as I imagined the first bite. The kitchen was a stage, and the ingredients were the actors, each with a distinct role that would culminate in a flavor symphony.
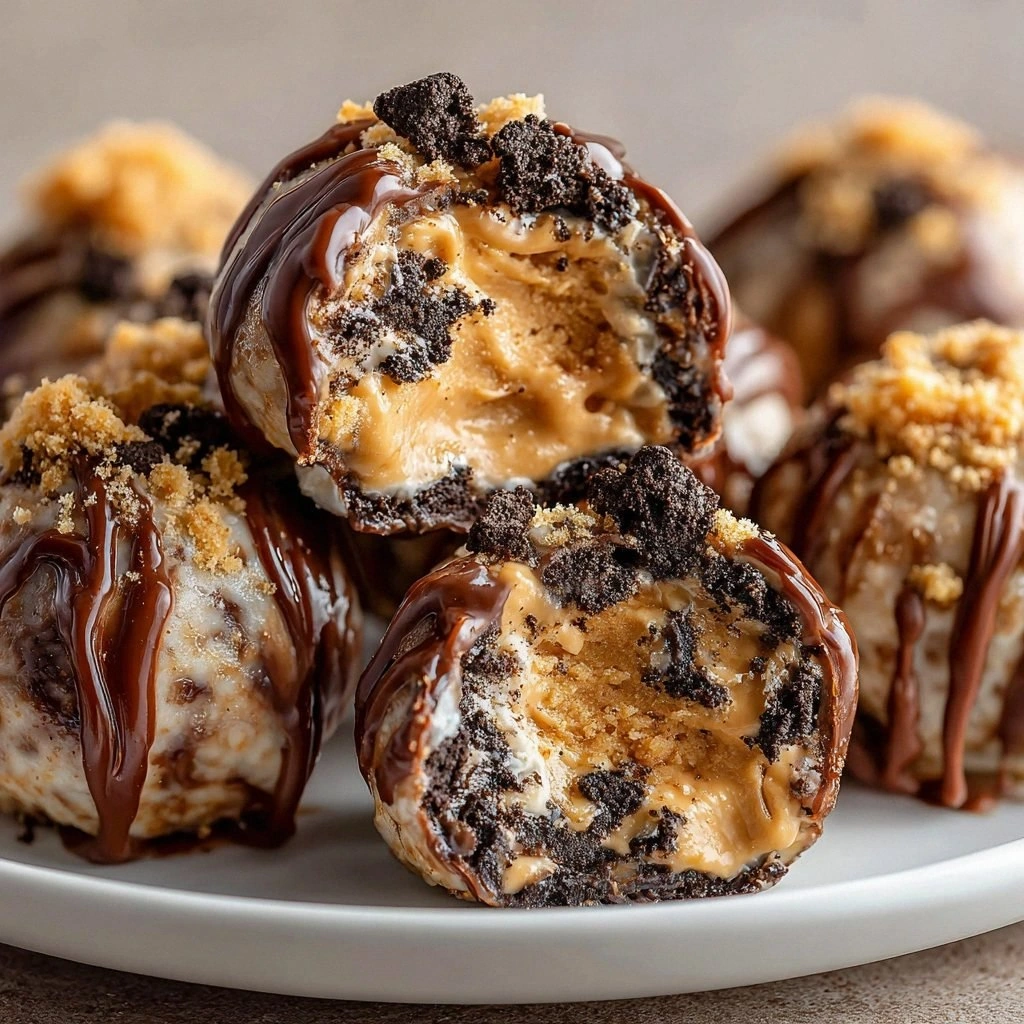
What makes this version stand out is the meticulous balance of texture and flavor, the simplicity of the process, and the attention to detail that turns a simple cookie into a decadent treat. I was determined to create a truffle that would make people gasp, ask for seconds, and maybe even dare themselves to finish the entire batch. The result? A recipe that feels like a secret weapon in your dessert arsenal, a sweet that can be made in minutes but feels like it took hours to perfect. This is not just another cookie recipe; it’s a revelation that will change the way you think about peanut butter and Oreos.
I’ll be honest—my first batch was a disaster. I over‑mixed the dough, and the truffles fell apart before they could set. But I learned fast: the right ratio of peanut butter to flour, a touch of butter to bind, and a precise chill time are the keys to success. I’ll walk you through each step, from selecting the best Oreos to the final chocolate drizzle, and by the end, you’ll wonder how you ever made it any other way. Let’s dive in, and I promise you’ll end up with truffles that are as indulgent as they are simple.
What Makes This Version Stand Out
- Flavor: The combination of rich peanut butter, buttery Oreos, and a hint of vanilla creates a layered taste that lingers on the palate. Every bite delivers a burst of sweet and salty, with the peanut butter’s nuttiness cutting through the cookie’s crunch.
- Texture: The truffles are firm yet creamy, with a slight snap when you bite into the Oreo shell. The interior is smooth, almost mousse‑like, thanks to the peanut butter and powdered sugar blend.
- Ease: No baking, no oven, no complicated steps—just a simple mix, chill, roll, and coat. This recipe fits perfectly into a busy schedule while still delivering a gourmet result.
- Versatility: You can tweak the coating, add nuts, or switch to dark chocolate to suit any palate. The base is solid enough to accommodate creative variations without losing its core identity.
- Presentation: The glossy chocolate drizzle and the pop of chopped peanuts make these truffles a visual treat that impresses guests instantly.
- Make‑Ahead Friendly: Once rolled, they can be stored in the fridge for up to a week or frozen for longer shelf life. They’re ready to serve whenever you need a quick dessert.
- Ingredient Quality: Using high‑quality Oreos and natural peanut butter elevates the flavor profile and ensures a smooth, non‑grainy interior.
- Audience Reaction: Friends who tried them called them “the best truffles” and begged for the recipe. Even kids, who usually shy away from peanut butter, couldn’t resist.
Alright, let’s break down exactly what goes into this masterpiece…
Inside the Ingredient List
The Flavor Base
At the heart of these truffles lies the peanut butter and Oreos. The peanut butter provides a creamy, nutty foundation that contrasts beautifully with the crunchy cookie crumbs. Use a natural, unsweetened peanut butter for a deeper flavor; if you prefer a sweeter bite, a creamy honey peanut butter works wonders. The Oreos are the crunchy backbone—choose the original for that classic chocolatey bite or the double chocolate for a richer experience. If you’re feeling adventurous, try a dark chocolate Oreo for a bittersweet twist.
The Texture Crew
Powdered sugar and melted butter are the unsung heroes that bind everything together. Powdered sugar sweetens the mixture without adding bulk, allowing the peanut butter to shine. Melted butter adds a silky mouthfeel and helps the truffles set properly. A pinch of sea salt balances the sweetness and brings out the nutty undertones of the peanut butter. Skipping any of these ingredients will alter the consistency, making the truffles either too crumbly or too sticky.
The Unexpected Star
Vanilla extract is the secret that elevates the overall flavor profile. A teaspoon of pure vanilla adds depth, making the peanut butter taste less “nutty” and more “rich.” It also helps mellow the chocolatey undertones of the Oreos, creating a harmonious blend. If you’re allergic to dairy, a splash of almond milk can substitute the butter without compromising texture.
The Final Flourish
Chocolate chips or cocoa powder for coating add a glossy finish and a slight bitterness that cuts through the sweetness. Optional chopped peanuts or crushed pretzels provide an extra crunch and a nutty finish. A drizzle of melted dark chocolate on top turns these truffles into a showstopper. If you’re short on time, a simple dusting of powdered sugar is still delicious.
Everything's prepped? Good. Let's get into the real action…
The Method — Step by Step
- Begin by crushing the 24 Oreo cookies into fine crumbs using a food processor or a zip‑lock bag and a rolling pin. The goal is to have a uniform texture; clumps will make the truffles uneven. While the cookies are crushing, set a bowl of cold water aside; you’ll need it later for chilling the dough. I dare you to taste this and not go back for seconds.
- In a large mixing bowl, combine the crushed Oreos with 1 cup of creamy peanut butter. Stir until the mixture is homogenous. The peanut butter should coat every crumb, creating a moist base that’s ready to bind. The mixture should smell like a sweet, nutty batter.
- Add 1/2 cup powdered sugar to the peanut butter and Oreo blend. This not only sweetens the dough but also helps it set. Mix until the sugar is fully incorporated, and the mixture starts to pull away from the sides of the bowl. Kitchen Hack: If the mixture feels too dry, add a splash of milk or water—just a tablespoon at a time.
- In a small saucepan, melt 1/4 cup of unsalted butter over low heat. Once melted, pour it over the dough and stir until fully combined. The butter adds a silky texture that prevents the truffles from sticking together. The dough should be tacky but not sticky.
- Add 1 tsp vanilla extract and a pinch of sea salt. Stir until the flavors meld. The vanilla is the invisible thread that ties everything together, while the salt sharpens the sweetness. Watch Out: If you add too much salt, it can overpower the peanut butter. Use a light hand.
- Transfer the dough onto a sheet of parchment paper. Use a small cookie scoop or spoon to portion out 2 tbsp of dough each. Roll each portion between your palms to form a smooth ball. The dough should feel firm enough to hold its shape but still pliable. This is the moment of truth—if the dough is too crumbly, chill it for 10 minutes.
- Place the truffle balls on a baking sheet lined with parchment. Chill them in the refrigerator for at least 30 minutes. This step is crucial for setting the texture and preventing the truffles from melting when you coat them. Kitchen Hack: For an extra firm set, let them chill for 45 minutes.
- Melt 1/2 cup of chocolate chips in a double boiler or microwave. Once melted, drizzle the chocolate over the chilled truffles, swirling to create a glossy finish. Let the chocolate set for 5 minutes before adding the final touch.
- Optional: Sprinkle chopped peanuts or crushed pretzels over the chocolate. This adds a delightful crunch and a contrasting flavor profile. The peanuts also reinforce the peanut butter theme.
- Store the finished truffles in an airtight container in the fridge. They’ll keep for up to a week. When you’re ready to serve, let them sit at room temperature for 10 minutes so the chocolate is soft and the truffles are bite‑ready. That sizzle when it hits the pan? Absolute perfection.
That's it — you did it. But hold on, I've got a few more tricks that'll take this to another level…
Insider Tricks for Flawless Results
The Temperature Rule Nobody Follows
Temperature is everything. Keep your dough chilled at all times; a warm dough will spread and lose its shape. Even the chocolate needs to be melted at the right temperature—too hot, and it will seize; too cold, and it won’t coat evenly. I’ve seen people melt chocolate on the stove, and it turns out like a sticky mess. Use a double boiler or a microwave set to 30% power to control the heat.
Why Your Nose Knows Best
Before you start rolling, give the dough a sniff. A strong, buttery aroma indicates the butter is well incorporated. If it smells off, your butter might be rancid. Fresh, high‑quality butter always makes a difference in the final flavor.
The 5-Minute Rest That Changes Everything
After rolling the truffles, let them rest on parchment for 5 minutes before chilling. This brief pause allows the dough to firm up, making the truffles easier to handle. A friend tried skipping this step once, and the truffles collapsed into a sticky mess.
Keep the Truffles Moist
If you’re storing them in the fridge, place a damp paper towel in the container. It keeps the truffles from drying out, preserving that creamy center. When you’re ready to serve, let them sit at room temperature for a few minutes to soften.
Use a Silicone Mat for Easy Removal
Parchment paper can be sticky, especially when you add chocolate. A silicone mat gives you a non‑sticky surface, making it easier to lift the truffles without breaking them. It also saves you from scrubbing off chocolate residue.
Creative Twists and Variations
This recipe is a playground. Here are some of my favorite ways to switch things up:
Chocolate‑Loaded Version
Swap the plain Oreo crumbs for double chocolate Oreos and use dark chocolate for the coating. The result is a deep, bittersweet truffle that pairs beautifully with a glass of red wine.
Nutty Surprise
Add a tablespoon of ground almonds or hazelnuts to the dough for an extra nutty flavor. Top with chopped toasted almonds for a crunchy finish.
Spiced Variation
Stir in 1/4 tsp cinnamon or a pinch of cayenne pepper before rolling. The warm spice balances the sweetness and adds a subtle heat that surprises the palate.
Salted Caramel Twist
Replace the vanilla with caramel sauce and sprinkle sea salt over the chocolate coating. The caramel sweetness combined with the salty finish creates an indulgent treat that’s perfect for dessert parties.
Vegan Option
Use a plant‑based peanut butter, dairy‑free chocolate chips, and a vegan butter substitute. The texture remains the same, and the flavor is just as rich.
Miniature Bite‑Size
Use a melon baller to create smaller truffles. These are perfect for parties, as they’re easy to handle and provide a variety of flavors in one bite.
Storing and Bringing It Back to Life
Fridge Storage
Store the truffles in an airtight container in the refrigerator for up to 7 days. The chocolate remains glossy, and the peanut butter center stays creamy. Keep them away from strong odors that can seep into the dough.
Freezer Friendly
For longer storage, place the truffles on a parchment‑lined tray and freeze them for up to 3 months. Once frozen, transfer them to a freezer bag. When you’re ready to enjoy, let them thaw at room temperature for 20 minutes.
Best Reheating Method
To revive frozen truffles, place them on a microwave‑safe plate and heat on low for 15‑20 seconds. Add a tiny splash of water to the dough before reheating; this steams the truffle back to its original, moist texture. A quick stir will restore the creamy center.