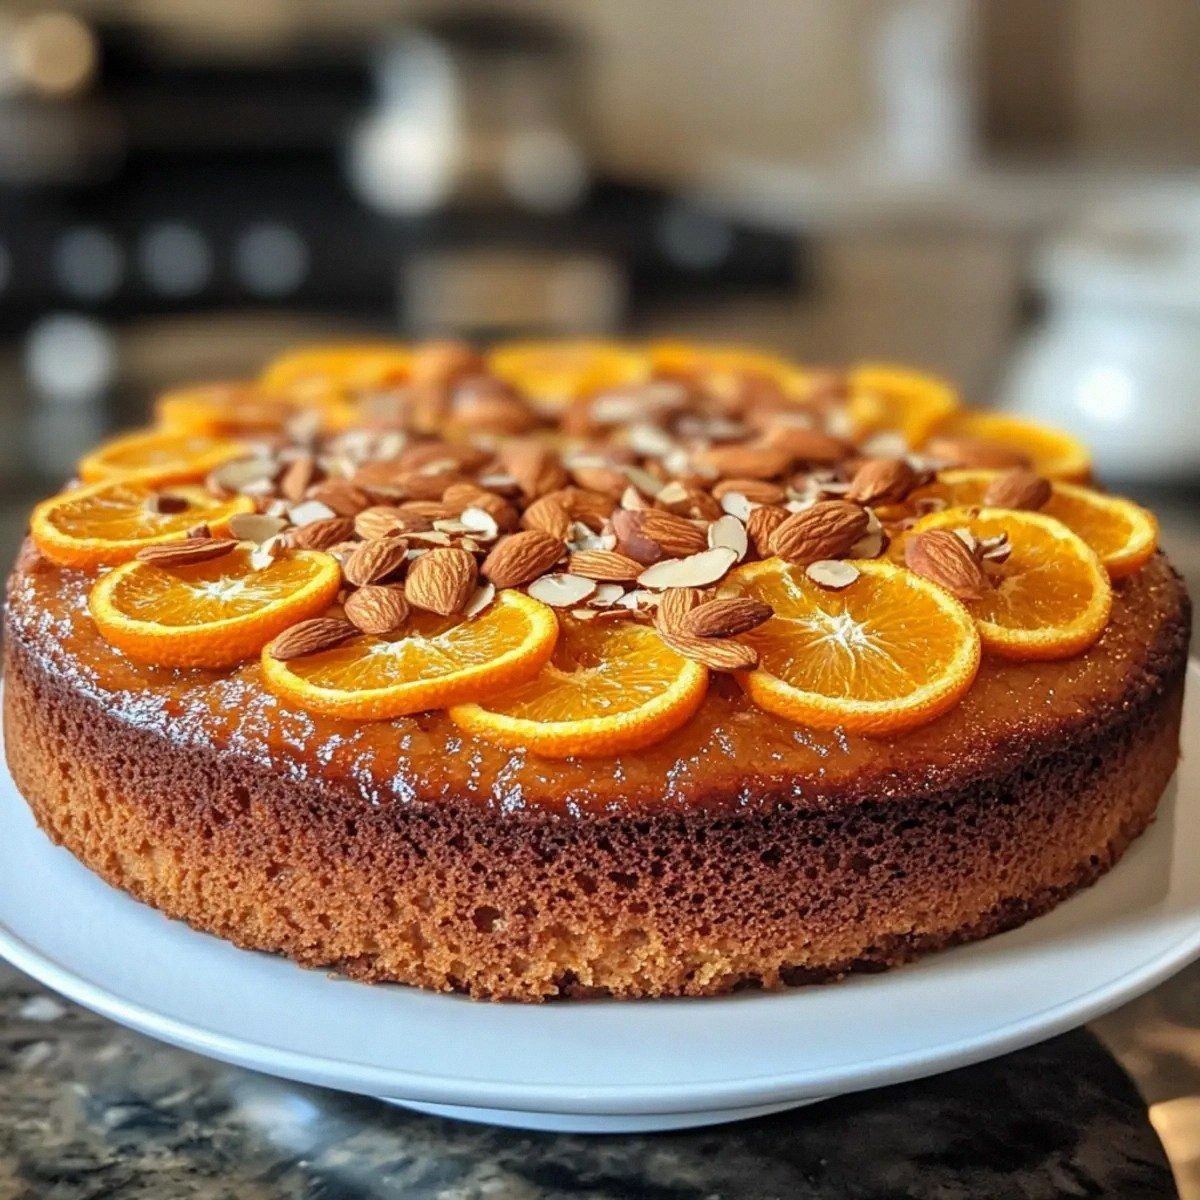
I remember the first time I tried to make a cookie cake for Easter, and it felt more like a culinary experiment gone wrong. The batter spilled onto the counter, the oven door opened, and I was left with a soggy mess that smelled like burnt sugar. That disaster became the spark that drove me to search for a recipe that could turn a kitchen mishap into a masterpiece. I spent hours combing through forums, blogs, and family archives until I stumbled upon a version that promised buttery layers, a chocolate‑laden crumb, and a glaze that glistens like a fresh snowflake. The moment the batter hit the pan, the air filled with a scent that made my heart skip a beat—sweet, buttery, and utterly irresistible. If you’ve ever stared at a cookie cake and felt your enthusiasm wane, this is the recipe that will reignite your love for baking.
Picture yourself pulling this out of the oven, the whole kitchen smelling incredible, and the table already brimming with eager guests. The first bite is a revelation: a crisp, cookie‑like crust that yields to a moist, chocolate‑infused center that melts like velvet. I dare you to taste this and not go back for seconds; the flavor profile is a perfect blend of sweet and slightly salty, with a hint of vanilla that lingers. Most recipes get this completely wrong by over‑baking or under‑seasoning, but here the balance is spot on. The glaze adds a glossy sheen that’s almost too pretty to eat, and the crumb stays soft even after a day. Let me walk you through every single step—by the end, you'll wonder how you ever made it any other way.
When I first tasted this cake, I realized it wasn’t just a dessert; it was a statement. It’s the kind of dish that turns a simple Easter gathering into a culinary celebration. The texture is a paradox: the edges are crisp like a fresh cookie, while the interior feels like a warm, chocolate‑filled hug. The flavor profile is layered—sweetness, a subtle salt kick, and a buttery richness that lingers. The visual appeal is undeniable; the glaze reflects light like a polished egg. And the best part? It’s surprisingly forgiving, which makes it perfect for novice bakers who want to impress without the risk of disaster.
In this blog post, I’ll dissect the secrets behind this cake, from the ingredients that make it unique to the techniques that guarantee perfection. I’ll share kitchen hacks that save time, fun facts that add depth, and watch‑out warnings that prevent common pitfalls. I’ll also give you creative twists that let you personalize the cake for your family’s taste. Finally, I’ll walk you through the storage and reheating methods that keep it fresh, and I’ll wrap everything up with a detailed recipe card that you can use to replicate the magic at home.
Okay, ready for the game‑changer? This version of the Easter Cookie Cake is a revelation that redefines what a cookie cake can be. Stay with me here—this is worth it.
What Makes This Version Stand Out
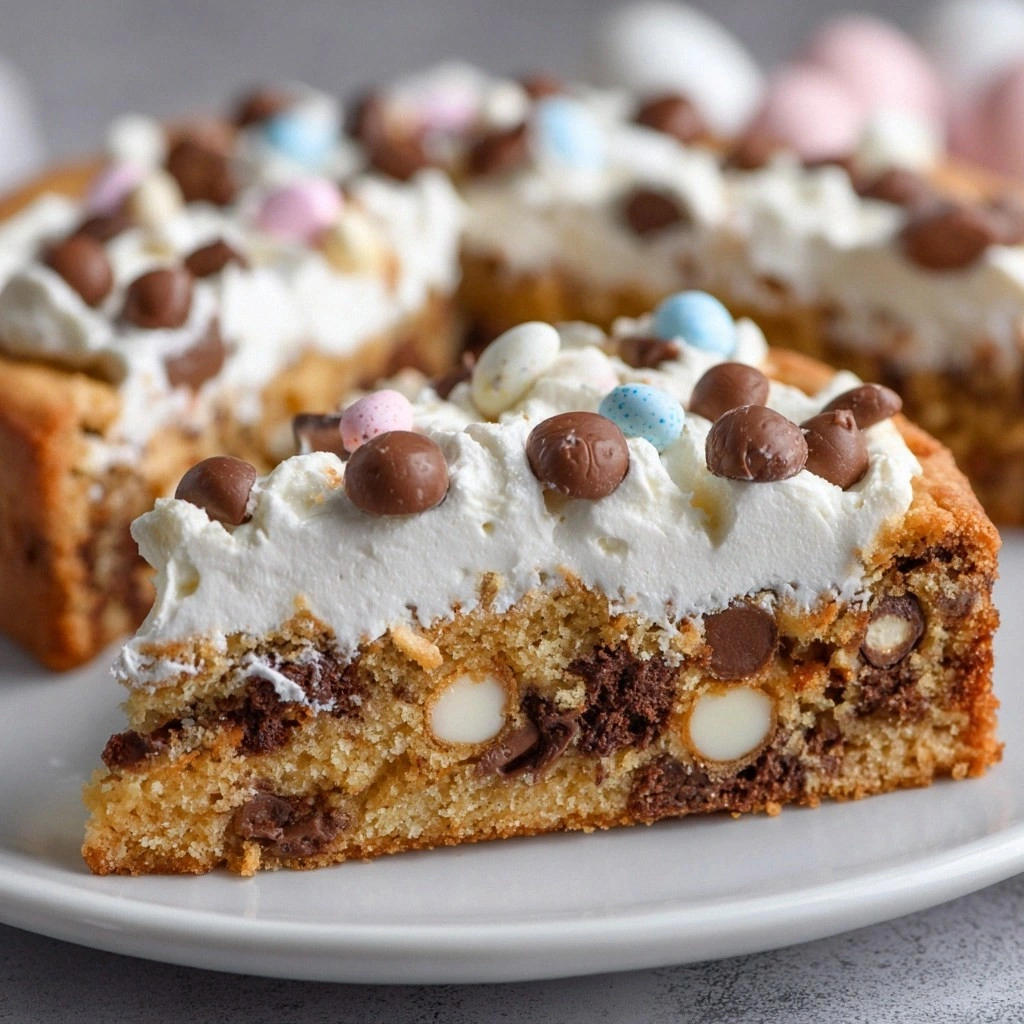
- Texture: The crust is crisp and crackly, yet the crumb remains moist and tender. It feels like a cookie that’s been gently baked in a cake oven, giving you the best of both worlds.
- Flavor Depth: The combination of granulated and brown sugar creates a caramelized sweetness that pairs perfectly with chocolate chips.
- Glaze Finish: The glossy glaze isn’t just decorative—it adds a subtle chocolate bite that coats the cake like velvet.
- Make‑Ahead Friendly: You can bake the base, chill, and glaze it a day ahead without losing quality. This is ideal for busy families who want to enjoy the cake without last‑minute prep.
- Ingredient Quality: Using high‑quality butter and fresh eggs elevates the flavor profile beyond the standard cookie cake.
- Visual Appeal: The glaze’s shine and the chocolate chips’ distribution make this cake photogenic—perfect for Instagram-worthy Easter celebrations.
- Versatility: The base can be flavored with citrus zest or spiced with cinnamon, making it adaptable to many palates.
- Time Efficiency: The entire process takes less than an hour from start to finish, saving you precious time.
Alright, let's break down exactly what goes into this masterpiece.
Inside the Ingredient List
The Flavor Base
All-purpose flour is the backbone of the cake, providing structure without overpowering the delicate flavors. It’s important to sift it to avoid lumps that can cause uneven baking. If you’re looking for a slightly lighter texture, a small portion can be replaced with cake flour, but that will alter the crumb slightly.
The Sweetness Crew
Granulated sugar offers a clean sweetness that dissolves quickly, while brown sugar adds depth and caramel notes. Together, they create a balanced sweetness that isn’t cloying. Skipping either sugar will shift the flavor profile and affect the crumb’s moisture.
The Butter & Egg Power
Unsalted butter adds richness and helps the batter hold together, creating a tender crumb. The eggs act as binders and contribute to the cake’s rise. If you’re vegan, you can substitute with flaxseed eggs and dairy‑free butter, but the texture will differ.
The Leavening & Flavor Enhancers
Baking powder and baking soda give the cake lift, ensuring it doesn’t sink in the center. Vanilla extract provides a fragrant backdrop that ties all the flavors together. A pinch of salt balances the sweetness and brings out the chocolate’s depth.
The Moisture & Chocolate Elements
Milk hydrates the dry ingredients and helps the batter spread evenly. Chocolate chips are the star of the show, adding bursts of rich flavor throughout each bite. If you prefer a darker chocolate, use semi‑dark chips for a more intense experience.
The Final Flourish
Powdered sugar and a splash of milk create the glaze that gives the cake its signature shine. A dash of cocoa powder adds a subtle chocolate undertone that complements the chips. The glaze also helps seal the moisture, keeping the cake fresh for days.
Everything's prepped? Good. Let's get into the real action.
The Method — Step by Step
- Preheat your oven to 350°F (175°C) and line a 9-inch springform pan with parchment paper. The parchment will prevent sticking and make removal effortless. Let the pan rest on a wire rack to ensure even heat distribution.
- In a large bowl, cream together the softened butter and both sugars until the mixture is light and fluffy. The goal is to incorporate as much air as possible; this will give the cake a light, airy crumb.
- Beat in the eggs one at a time, ensuring each is fully blended before adding the next. This gradual incorporation keeps the batter from curdling. A whisk works just as well as a mixer if you prefer a more hands‑on approach.
- Whisk together the flour, baking powder, baking soda, and salt in a separate bowl. Sifting the dry ingredients together reduces clumps and ensures even distribution of leavening agents.
- Gradually add the dry mixture to the wet mixture, alternating with milk, beginning and ending with flour. This method keeps the batter smooth and prevents it from becoming too dense.
- Fold in the chocolate chips, ensuring they’re evenly distributed. The chips should be scattered throughout, not clumped in one area, for a consistent chocolate experience.
- Pour the batter into the prepared pan and tap it gently on the counter to release air bubbles. The batter should spread evenly across the pan, creating a smooth surface.
- Bake for 30 minutes, or until a toothpick inserted into the center comes out clean. The cake should have a golden crust that cracks slightly when you touch it.
- Let the cake cool in the pan for 10 minutes, then remove it from the springform and transfer to a wire rack to cool completely. Cooling on the rack prevents condensation that can make the bottom soggy.
- While the cake cools, whisk together powdered sugar, cocoa powder, and enough milk to achieve a pourable glaze consistency. The glaze should be thick enough to coat the cake but thin enough to drizzle.
- Once the cake is fully cooled, drizzle the glaze over the top, allowing it to pool slightly at the edges for a rustic finish. Let the glaze set for 10 minutes before slicing.
That's it — you did it. But hold on, I've got a few more tricks that'll take this to another level.
Insider Tricks for Flawless Results
The Temperature Rule Nobody Follows
Many bakers bake at a standard 350°F, but a slight temperature drop to 325°F can prevent the edges from over‑browning while still giving a perfect rise. The trick is to preheat the oven for at least 15 minutes before placing the cake inside.
Why Your Nose Knows Best
When you first open the oven, the aroma of butter and chocolate will hit your nose like a warm hug. Trust that scent; if it’s not sweet and buttery, the batter likely needs more sugar or a touch more vanilla.
The 5-Minute Rest That Changes Everything
After removing the cake from the oven, let it rest on the rack for exactly five minutes. This short pause allows the steam inside to redistribute, preventing a hollow center.
Glaze Timing Is Key
Applying the glaze while the cake is still slightly warm allows it to set into the crevices, creating a glossy, almost glass‑like finish. If you wait too long, the glaze will become too thick and difficult to spread.
Storing with a Splash of Water
When reheating leftover cake, add a splash of water to the microwave for 20 seconds. The steam keeps the crumb moist and prevents it from drying out.
Chocolate Chip Placement
Distribute the chips evenly by gently folding them into the batter. A friend once tried adding all the chips at the end, and the result was a lumpy, uneven cake that didn’t hold its shape.
Creative Twists and Variations
This recipe is a playground. Here are some of my favorite ways to switch things up:
Mint Chocolate Surprise
Swap half of the chocolate chips for white chocolate chips and add a few drops of peppermint extract. The minty freshness cuts through the sweetness, giving a refreshing finish.
Citrus Zest Delight
Grate the zest of one orange and one lemon into the batter. The citrus adds a bright, tangy note that balances the richness of the chocolate.
Nutty Crunch Edition
Add a cup of toasted pecans or walnuts to the batter. The crunch contrasts the soft crumb, while the nuts introduce a subtle buttery flavor.
Spiced Winter Variation
Incorporate a teaspoon of ground cinnamon and a pinch of nutmeg. The warm spices give the cake a cozy feel, ideal for holiday gatherings beyond Easter.
Almond Joy Version
Replace half of the chocolate chips with shredded coconut and add a splash of almond extract. The coconut gives a chewy texture, and the almond flavor elevates the overall taste.
Raspberry Swirl
Fold in a handful of fresh raspberries before baking. The berries burst in the middle, offering a tart contrast to the sweet, buttery base.
Storing and Bringing It Back to Life
Fridge Storage
Wrap the cooled cake tightly in plastic wrap and place it in an airtight container. Store in the refrigerator for up to five days. The cold environment preserves the moisture while keeping the glaze firm.
Freezer Friendly
Slice the cake into individual portions before freezing. Wrap each slice in parchment and then in foil, and place them in a freezer bag. Freeze for up to two months. Thaw overnight in the fridge before serving.
Best Reheating Method
To reheat, preheat your oven to 300°F (150°C). Place the cake on a parchment-lined sheet and heat for 8–10 minutes. Add a tiny splash of water before reheating; it steams the cake back to perfection.