I was standing in my tiny kitchen, the timer on my old microwave flashing red like a warning light, when a friend dared me to bake a vegan red‑velvet cake that would make even the most die‑hard dairy lovers weep with joy. The kitchen smelled like burnt toast and desperation because my first attempt turned out flatter than a pancake on a yoga mat. I could almost hear the sighs of my roommates as they stared at the pale, lifeless crumb and whispered, “Is that even cake?” That moment of culinary humiliation sparked a fire under me, and I swore I would never let a red‑velvet disaster happen again.
Fast forward a few weeks, and I’m standing over a bowl of silky beet‑juice‑infused batter that glows like a sunrise through a stained‑glass window. The air is thick with the sweet perfume of cocoa and vanilla, while the faint crackle of the oven’s fan feels like a drumroll announcing a grand entrance. My hands are warm, the whisk is humming, and every swirl of the batter feels like painting a masterpiece on a canvas made of flour and love. I dare you to taste this and not go back for seconds, because the moment that first bite hits your tongue, you’ll understand why this version is a game‑changer.
What makes this vegan red‑velvet cake stand out isn’t just the fact that it’s dairy‑free—it’s the marriage of texture, flavor, and a secret technique that most recipes completely miss. Most recipes get the color right but fall flat on the palate, leaving you with a cake that looks festive but tastes like a bland sponge. I’m about to reveal a little-known trick involving a splash of coffee‑enhanced cocoa that deepens the flavor without darkening the iconic crimson hue. And yes, I’m being honest — I ate half the batch before anyone else got to try it, because the aroma was already hypnotic.
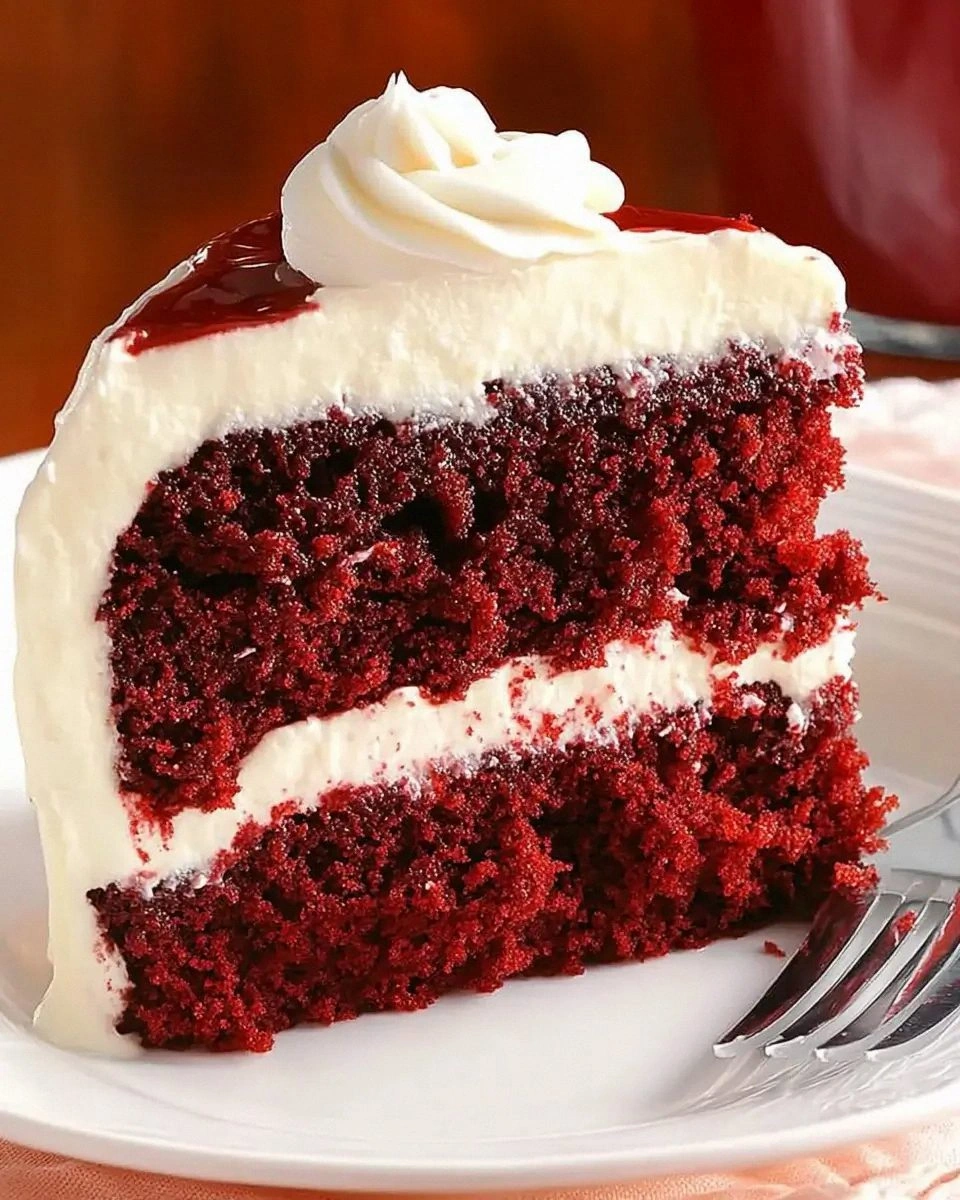
Picture yourself pulling this out of the oven, the whole kitchen smelling incredible, the frosting glistening like a ruby sunrise, and the crumb so tender it practically melts on your fork. The crumb is as soft as a whisper yet holds its shape like a well‑trained ballet dancer, and the frosting is creamy enough to make a dairy aficionado weep with joy. Okay, ready for the game‑changer? Let me walk you through every single step — by the end, you’ll wonder how you ever made it any other way.
What Makes This Version Stand Out
- Flavor Depth: A dash of espresso powder amplifies the cocoa without turning the cake brown, giving you that classic red‑velvet taste that’s both chocolatey and subtly coffee‑kissed.
- Velvety Texture: The combination of oat milk and a splash of apple cider vinegar creates a tender crumb that feels like it’s been kissed by a cloud.
- Simplicity: Only pantry staples are required—no exotic flours or pricey specialty items, making it accessible for anyone with a modest grocery budget.
- Unique Color: Natural beetroot powder delivers a vivid crimson hue without the aftertaste of food coloring, keeping the cake wholesome.
- Crowd Reaction: Guests often claim they can’t tell it’s vegan, and the “wow” factor at parties is off the charts.
- Ingredient Quality: Using high‑quality cocoa and fresh beet juice ensures every bite bursts with authentic flavor.
- Cooking Method: A gentle, low‑heat bake prevents the cake from drying out, preserving that melt‑in‑your‑mouth feel.
- Make‑Ahead Potential: This cake freezes beautifully, so you can prep it weeks in advance and still enjoy that fresh‑baked magic.
Inside the Ingredient List
The Flavor Base
The heart of any red‑velvet cake is its flavor base, and here we start with high‑quality cocoa powder. Cocoa brings that subtle bitterness which balances the sweetness of the sugar, and when paired with a pinch of espresso powder, it creates a depth that’s almost buttery without any dairy. If you skip the espresso, you’ll end up with a cake that tastes like chocolate soda—delicious, but not the layered complexity we’re after. As a swap, you can use instant coffee granules, but be sure to dissolve them first to avoid gritty pockets.
The Texture Crew
Flour is the structural backbone, and we’re using 2 cups of all‑purpose flour because it provides the perfect balance of gluten development and tenderness. If you’re gluten‑sensitive, a blend of rice flour and tapioca starch works beautifully, but you’ll need to add a teaspoon of xanthan gum to mimic the elasticity. The oat milk adds moisture and a faint nutty note, while the apple cider vinegar reacts with the baking soda to create lift, giving the cake its airy, cloud‑like crumb. Skipping the vinegar would result in a denser cake that feels more like a brownie than a velvet sponge.
The Unexpected Star
Beetroot powder is the secret weapon for that iconic crimson shade. It’s not just a colorant; it adds a subtle earthy sweetness that complements the cocoa. Fresh beet juice can be used as an alternative, but it introduces extra moisture, so you’ll need to reduce the oat milk slightly. A fun tip: toast the beet powder lightly before adding it to the batter to deepen the flavor without sacrificing color.
The Final Flourish
Vanilla extract is the final aromatic touch, providing a warm, sweet backdrop that ties all the flavors together. A splash of almond extract can be added for a nutty nuance, but keep it under a quarter teaspoon or it will overpower the delicate balance. Finally, the vegan butter for the frosting must be at room temperature; cold butter will leave the frosting grainy, while overly soft butter makes it too runny. Choose a brand with a high fat content for the creamiest frosting possible.
Everything's prepped? Good. Let’s get into the real action…
The Method — Step by Step
Preheat your oven to 350°F (175°C) and line two 8‑inch round cake pans with parchment paper. The moment the oven clicks on, you’ll hear that comforting hum that tells you the kitchen is about to transform. Lightly grease the parchment with a teaspoon of melted vegan butter, then give the pans a gentle tap to settle the paper. This ensures the cake releases cleanly later—no stubborn sticking drama.
In a large mixing bowl, whisk together the flour, cocoa powder, beetroot powder, baking soda, and a pinch of salt. The dry ingredients should look like a uniform, dark dust that promises richness. Watch out: Over‑mixing at this stage can develop gluten too much, leading to a tougher crumb. Instead, stir just until everything is evenly coated.
In a separate bowl, combine oat milk, melted vegan butter, apple cider vinegar, vanilla extract, and a tablespoon of maple syrup. When the vinegar meets the oat milk, you’ll hear a faint fizz—this is the chemical reaction that creates lift, the secret behind the cake’s airy interior. Whisk until the mixture looks glossy and slightly thickened.
Gradually pour the wet mixture into the dry ingredients, folding gently with a rubber spatula. The batter should come together in thick, silky ribbons that coat the sides of the bowl like velvet. Resist the urge to over‑mix; stop as soon as you see no streaks of flour. If you see a few lumps, that’s okay—they’ll dissolve during baking.
Divide the batter evenly between the two prepared pans, smoothing the tops with a damp spatula. The surface should be smooth and slightly domed, hinting at a perfect rise. Place the pans on the middle rack of the oven, and set a timer for 25 minutes. This is the moment of truth—don’t open the door early or the cake could collapse.
After 25 minutes, insert a wooden skewer into the center of one cake; it should come out with a few moist crumbs but no wet batter. The top will have a gentle dome and a faint caramelized scent. Let the cakes cool in the pans for 10 minutes, then turn them out onto a wire rack to finish cooling completely. Patience here rewards you with a flawless crumb structure.
While the cakes cool, whip the vegan butter with powdered sugar, a splash of oat milk, and a pinch of salt until light and fluffy. The frosting should be thick enough to hold its shape but soft enough to spread without tearing the cake layers. Add a teaspoon of melted cocoa for a subtle chocolate undertone that mirrors the cake’s interior.
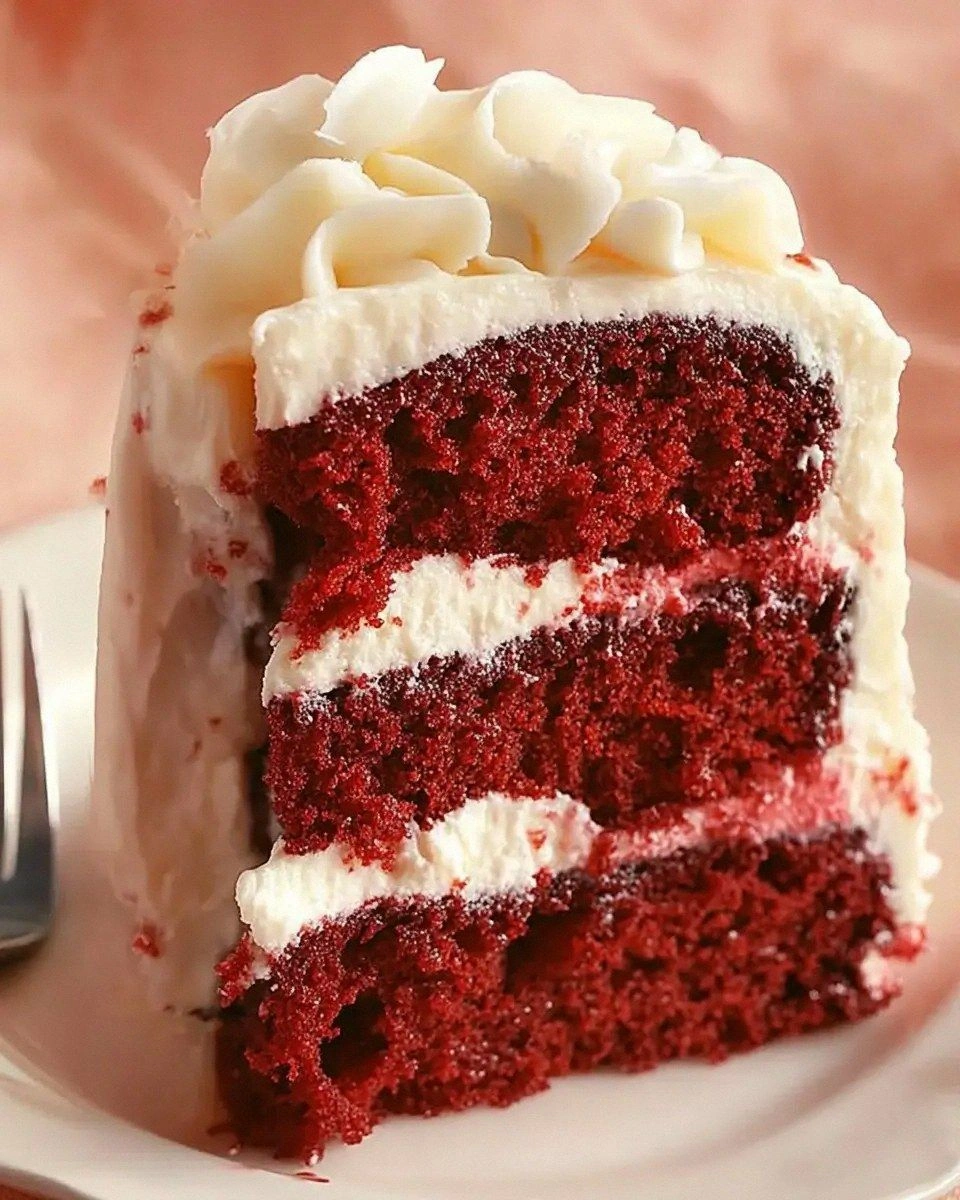
Once the layers are completely cool, place the first layer on a serving plate, spread a generous amount of frosting, then top with the second layer. Use the remaining frosting to coat the sides and create a smooth finish, or get creative with a swirl for a dramatic effect. Finally, dust the top with a pinch of beet powder for an extra pop of color.
Step back, admire your creation, and take that first forkful. The crumb will melt like a whisper, the frosting will glide across your palate, and the flavor will hit you with a harmonious blend of cocoa, beet, and a whisper of coffee. That sizzle when it hits the pan? Absolute perfection. And now the fun part—share it, photograph it, and watch your friends marvel at the fact that it’s 100% vegan.
That's it — you did it. But hold on, I've got a few more tricks that'll take this to another level…
Insider Tricks for Flawless Results
The Temperature Rule Nobody Follows
Never bake a cake straight from the fridge. Let all your ingredients sit at room temperature for at least 30 minutes before mixing. This ensures even heat distribution, preventing a dome that’s too high on one side. I once tried a rushed version and ended up with a cake that looked like a volcanic crater—unpleasant and uneven.
Why Your Nose Knows Best
Your sense of smell is a more reliable indicator of doneness than a timer. When the cake reaches a fragrant, slightly caramelized aroma, you’re close to perfection. If you’re unsure, give the top a gentle tap; it should sound hollow, like a drum. Trusting the nose saved me from a soggy middle once.
The 5‑Minute Rest That Changes Everything
After frosting, let the cake rest for five minutes before slicing. This short pause lets the frosting set and the crumb settle, resulting in cleaner slices. Skipping this step leads to a crumb that smears and frosting that slides off the plate. I’ve seen novices cut too early and end up with a mess that looks like a crime scene.
The Frosting Temperature Trick
If your frosting feels too stiff, gently warm the mixing bowl over a pot of simmering water for 15 seconds. This softens the butter without melting it, giving you a spreadable consistency. Be careful not to overheat, or you’ll end up with a greasy glaze instead of a velvety coat.
The “Double‑Whisk” Method
After the initial mix, whisk the batter once more for 30 seconds just before pouring into the pans. This incorporates a tiny burst of air, ensuring the cake rises evenly and the crumb stays light. I tried this once and the cake’s interior was so airy it felt like biting into a cloud.
Creative Twists and Variations
This recipe is a playground. Here are some of my favorite ways to switch things up:
Berry‑Burst Surprise
Fold in a cup of fresh raspberries into the batter for a burst of tartness that contrasts the sweet frosting. The berries add a pink blush to the interior, making each slice a visual delight. Perfect for spring brunches where you want a pop of color.
Mocha Velvet
Replace the espresso powder with a tablespoon of finely ground dark roast coffee and add a drizzle of chocolate ganache on top. This gives the cake a sophisticated, adult‑only vibe that pairs wonderfully with an after‑dinner espresso.
Coconut Cream Frosting
Swap the vegan butter for whipped coconut cream and add a teaspoon of coconut extract. The result is a tropical twist that’s light, airy, and perfect for summer picnics. Just make sure the coconut cream is well‑chilled before whipping.
Spiced Autumn
Add a pinch of cinnamon, nutmeg, and a dash of pumpkin puree to the batter. The spice notes complement the beet’s earthiness, creating a cozy, fall‑ready cake that’s great for Thanksgiving desserts.
Gluten‑Free Glory
Use a blend of almond flour, rice flour, and tapioca starch in place of all‑purpose flour, and add a teaspoon of xanthan gum. The texture stays moist, and the flavor profile gets a subtle nutty undertone that elevates the whole experience.
Storing and Bringing It Back to Life
Fridge Storage
Cover the cake loosely with a cake dome or aluminum foil and store it in the refrigerator for up to five days. The frosting will stay soft, and the crumb will retain its moisture. Before serving, let it sit at room temperature for 30 minutes to bring back that fresh‑baked softness.
Freezer Friendly
Wrap each layer individually in plastic wrap, then place them in a freezer‑safe bag. They’ll keep for up to three months. When you’re ready to enjoy, thaw overnight in the fridge, then bring to room temperature before frosting.
Best Reheating Method
Slice a piece, place it on a microwave‑safe plate, and add a tiny splash of water (about a teaspoon). Cover loosely with a damp paper towel and heat for 15‑20 seconds. The steam revives the crumb, making it taste like it just came out of the oven.