The kitchen was a battlefield that night. I’d been trying to whip up a holiday dessert that would impress my friends, but the chocolate batter had turned into a lumpy, soggy mess that looked more like a melted snowdrift than a treat. I stared at the pan, feeling the frustration build, when a sudden inspiration hit me like a lightning bolt: what if I turned that disastrous batter into a silky, airy mousse that would melt in your mouth? I was about to give up when the aroma of freshly brewed coffee and the faint scent of peppermint flooded the room, reminding me that the solution was right under my nose.
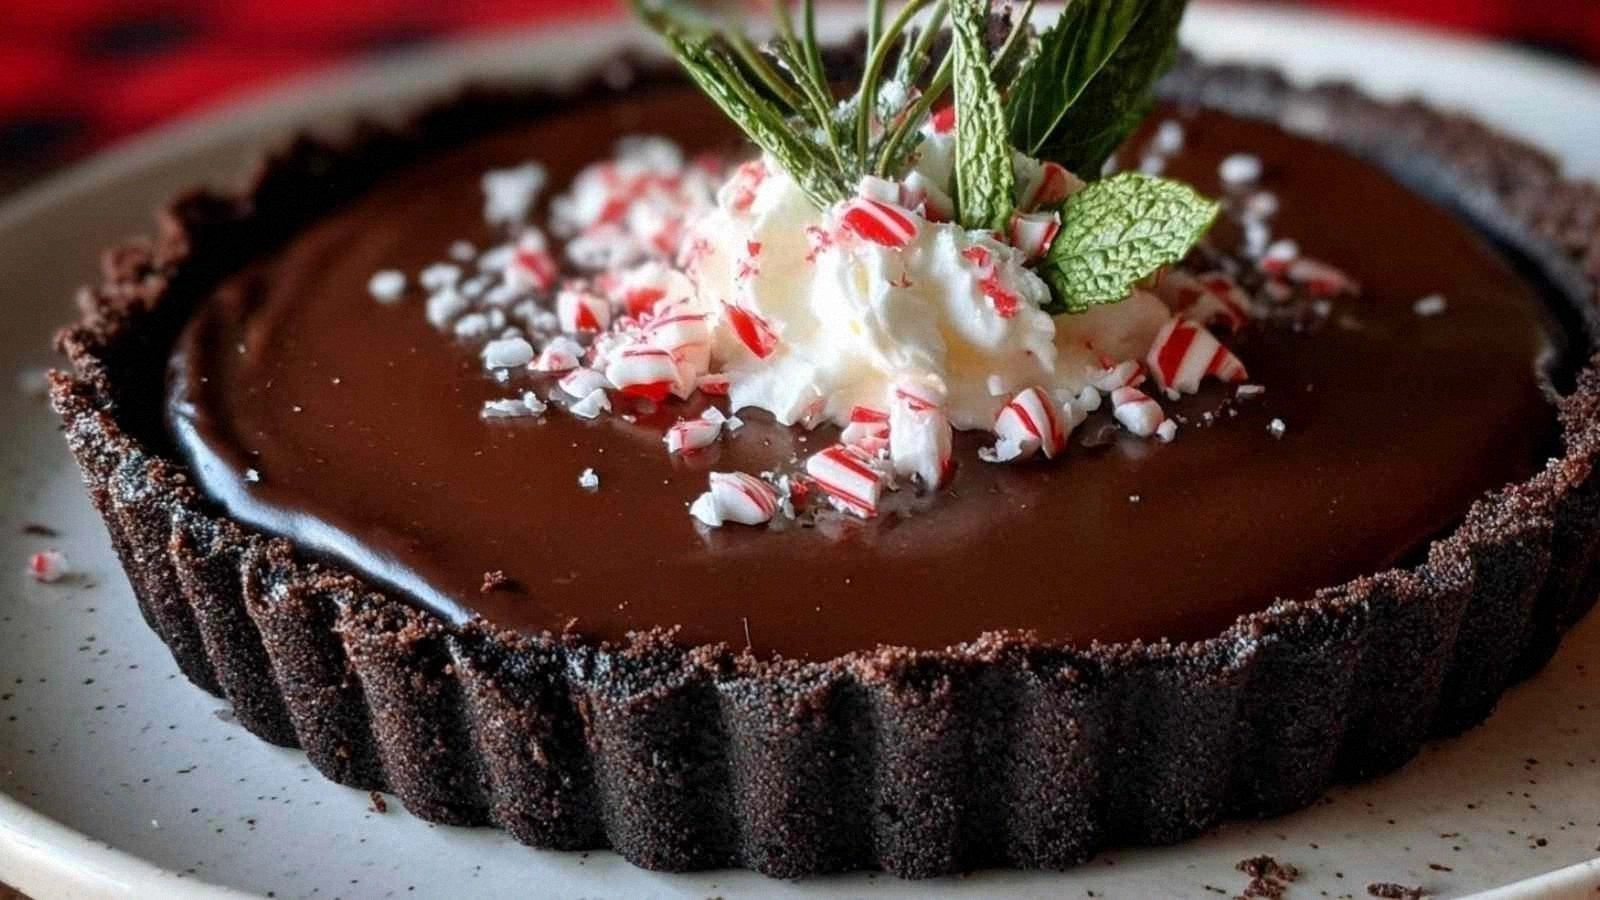
Picture this: a glossy dark chocolate crust that crackles with a delicate crunch, a velvety peppermint-infused mousse that swirls like a midnight storm, and a finishing drizzle of white chocolate that glistens like snow under a full moon. The kitchen hums with anticipation, the timer ticks, and the air is thick with the sweet, minty perfume that makes you forget any lingering taste of failure. I swear, the first spoonful is a revelation—rich chocolate depth, a whisper of mint, and a light, airy texture that feels like a cloud on a tongue. If you’ve ever been disappointed by a chocolate dessert that’s too heavy or too sweet, this version is a game‑changer that will turn your doubts into delight.
What sets this recipe apart is not just the ingredients but the way they dance together. The graham cracker base gives a subtle crunch that contrasts the mousse’s silkiness, while the peppermint oil adds a fresh, crisp finish that cuts through the chocolate’s richness. The use of gelatin ensures a stable mousse that holds its shape, and the careful balance of sweeteners keeps the flavor from tipping into cloying. I dare you to taste this and not go back for seconds—because once you experience that perfect harmony, you’ll never settle for anything else. This is hands down the best version you’ll ever make at home, and I’m excited to walk you through every single step so you can replicate it flawlessly.
Let me walk you through every single step—by the end, you’ll wonder how you ever made it any other way. From the moment you crush the graham crackers to the final flourish of white chocolate drizzle, each action is intentional, designed to build layers of flavor and texture. I’ll share the tricks I learned after countless attempts, the moments that made me laugh, and the tiny details that make the difference between good and unforgettable. So grab your whisk, your measuring spoons, and your favorite peppermint scent, and let’s dive into this chocolate‑mint masterpiece.
What Makes This Version Stand Out
- Depth: The combination of bittersweet chocolate and a hint of mint creates a flavor profile that feels both indulgent and refreshing. It’s the kind of depth that lingers on the palate, inviting a second bite.
- Texture: A crunchy graham cracker crust provides a satisfying contrast to the airy mousse, while the gelatin gives the mousse a stable, silk‑smooth mouthfeel that doesn’t collapse.
- Visual Appeal: The glossy chocolate base, the pale mint mousse, and the white chocolate drizzle form a striking color palette that looks as good as it tastes.
- Ease: The recipe uses pantry staples and a straightforward method, so you can create a showstopper dessert without a culinary background.
- Make‑ahead Friendly: The crust can be pre‑baked and the mousse can be assembled up to an hour ahead, making it perfect for last‑minute gatherings.
- Customization: Swap the peppermint oil for a splash of espresso or a pinch of sea salt to create entirely new flavor directions.
- Kid‑Friendly: The mousse is non‑cooking once the base is ready, so even little hands can help stir and pour.
Alright, let’s break down exactly what goes into this masterpiece…
Inside the Ingredient List
The Flavor Base
The graham crackers are the unsung hero of this dessert. Finely ground, they provide a buttery, slightly sweet foundation that anchors the mousse. They also absorb the melted butter and sugar, creating a cohesive crust that holds the creamy filling. If you skip them, the mousse will flop and the texture will feel thin. A good rule of thumb: choose a lightly toasted graham cracker for a subtle nutty undertone.
The melted butter and sugar blend is a classic caramelizing duo. Butter brings a silky richness, while sugar adds a hint of sweetness that balances the dark chocolate’s bitterness. Together, they create a glossy, golden crust that’s both flavorful and visually striking. If you’re watching your calories, you can reduce the butter by a tablespoon, but you’ll lose some of the melt‑in‑your‑mouth quality.
The Texture Crew
Gelatin is the secret stabilizer that keeps the mousse from turning into a runny mess. Dissolved in cold water, it sets into a fine network that traps air and maintains volume. Without it, the mousse would collapse once chilled. If you’re vegan or gelatin‑free, a small amount of agar‑agar can serve as a substitute, but it may alter the mouthfeel slightly.
The heavy whipping cream is the backbone of the mousse’s airy texture. When whipped to soft peaks, it incorporates air that lightens the chocolate base. The addition of powdered sugar fine-tunes the sweetness, ensuring it’s not too cloying. A pinch of salt can enhance the overall flavor profile, but it’s optional and should be used sparingly.
The Unexpected Star
Pure peppermint oil is the star that elevates this dessert from ordinary chocolate to an unforgettable minty delight. A few drops are all you need to create a fresh, crisp aroma that lingers. Too much can overpower the chocolate, so I always start with three drops and adjust to taste. If you prefer a milder mint, you can use peppermint extract, but the oil delivers a cleaner, more intense flavor.
The Final Flourish
White chocolate chips and bittersweet or dark chocolate are the finishing touches that add layers of flavor. The white chocolate provides a creamy, sweet counterpoint to the boldness of the dark chocolate, while the bittersweet chocolate deepens the overall richness. Light corn syrup is added to keep the chocolate from crystallizing, ensuring a smooth finish. The very warm water used to dissolve the gelatin is a small but crucial step that guarantees the gelatin dissolves completely, preventing lumps.
Everything’s prepped? Good. Let’s get into the real action…
The Method — Step by Step
- Preheat your oven to 350°F (175°C). In a medium bowl, combine the finely ground graham crackers, melted butter, and 1/4 cup sugar. Stir until the mixture is moist and crumbly, then press it firmly into the bottom of a 9‑inch springform pan. Bake for 10 minutes, or until the edges turn a light golden brown. Let cool completely before proceeding. This crust forms the foundation; a crisp base elevates the entire dessert.
- While the crust is cooling, dissolve the gelatin in 2 tablespoons of cold water. Let it sit for 5 minutes to bloom, then gently heat over a double boiler or in the microwave until it’s fully liquefied. This step is crucial—any lumps will ruin the mousse’s silky texture. Keep it warm; you’ll use it immediately.
- In a small saucepan, melt the 3½ ounces of bittersweet or dark chocolate over low heat, stirring constantly. Once melted, add the warm gelatin solution and whisk until the mixture is smooth. The gelatin not only stabilizes the mousse but also helps the chocolate set nicely. The mixture should be glossy and slightly thick—if it’s too thin, add a pinch more chocolate.
- Transfer the chocolate mixture to a stand mixer. Whisk on medium speed until it starts to thicken and a glossy sheen appears. This usually takes about 2 minutes. At this point, add the 1 tablespoon powdered sugar and 3–4 drops of pure peppermint oil. Whisk until the peppermint is fully incorporated, ensuring an even distribution of mint aroma.
- Fold in the 1 cup of heavy whipping cream using a spatula. The cream should be at room temperature; if it’s cold, let it sit out for a few minutes. Fold gently to preserve the air bubbles, creating a light, airy mousse. The result should be a silky, cloud‑like consistency that’s easy to pour.
- Pour the mousse over the cooled crust, spreading it evenly with a spatula. Tap the pan gently on the counter to release any trapped air bubbles and to level the surface. This step ensures a smooth finish and helps the mousse set properly.
- Refrigerate the assembled tart for at least 2 hours, or until the mousse is firm. The chill allows the gelatin to set fully, giving the mousse a stable, slice‑ready structure. During this time, the flavors meld together, creating a harmonious blend of chocolate and mint.
- While the tart is chilling, melt the 4 ounces of white chocolate chips in a heat‑proof bowl over a pot of simmering water, stirring until smooth. Once melted, drizzle the white chocolate over the top of the set mousse, allowing it to cascade in swirls. This final touch adds a glossy, sweet contrast that’s both decorative and delicious.
- Serve chilled, either straight from the springform pan or sliced with a sharp knife. The crust will hold its shape, and the mousse will stay firm, making for an elegant presentation that’s sure to impress. Enjoy the first bite and watch the flavors unfold—rich, minty, and utterly decadent.
That’s it — you did it. But hold on, I've got a few more tricks that'll take this to another level…
Insider Tricks for Flawless Results
The Temperature Rule Nobody Follows
The temperature of each component matters more than you think. If the heavy whipping cream is too cold, it will form stiff peaks that make the mousse dense. Keep the cream at room temperature, and if you’re in a chilly kitchen, let it sit out for 10 minutes before whipping. This subtle tweak ensures the mousse remains light and airy.
Why Your Nose Knows Best
Before adding the peppermint oil, give the chocolate mixture a sniff. A faint, fresh aroma indicates the oil is fresh and potent. Stale peppermint can taste bitter and ruin the balance. Trust your nose; it’s the most reliable guide for flavor intensity.
The 5‑Minute Rest That Changes Everything
After whisking in the powdered sugar, let the mixture rest for exactly five minutes before folding in the cream. This pause allows the sugar to dissolve fully, preventing a gritty texture. It also lets the chocolate settle, ensuring a smoother finish.
The Secret to a Crackling Crust
If you want a crunchier base, sprinkle a teaspoon of finely chopped toasted almonds over the graham cracker mixture before baking. The nuts add a nutty flavor and a satisfying crunch that pairs beautifully with the mousse’s softness.
The Final Flourish: White Chocolate Drizzle
When drizzling white chocolate, keep the bowl slightly tilted. This creates elegant ribbons that add visual appeal and a subtle sweetness that balances the bitterness of the dark chocolate. If you prefer a darker finish, use dark chocolate chips instead of white.
Creative Twists and Variations
This recipe is a playground. Here are some of my favorite ways to switch things up:
Citrus Burst
Add a teaspoon of orange zest to the chocolate mixture for a bright, citrusy lift. The zest pairs wonderfully with the mint, creating a fresh, vibrant flavor profile that’s perfect for spring.
Spiced Winter
Replace the peppermint oil with a pinch of ground cinnamon and a drop of vanilla extract. The warm spices evoke cozy winter evenings, making this version ideal for holiday gatherings.
Nutty Crunch
Fold in ½ cup of toasted pecans or walnuts into the mousse before chilling. The crunchy nuts add texture and a buttery flavor that complements the chocolate’s richness.
Coffee Infusion
Stir a tablespoon of instant espresso powder into the chocolate base. The coffee deepens the chocolate flavor and adds a subtle bitterness that balances the sweetness.
Almond Delight
Swap the graham cracker crust for a base made from almond flour and butter. The nutty crust offers a refined taste that pairs beautifully with the minty mousse.
Storing and Bringing It Back to Life
Fridge Storage
Store the finished tart in the refrigerator for up to 3 days in an airtight container. The mousse will stay firm, and the crust will retain its crunch. Before serving, let it sit at room temperature for 10 minutes to soften slightly.
Freezer Friendly
The tart freezes well for up to 2 weeks. Wrap it tightly in plastic wrap, then place it in a freezer bag. When ready to serve, thaw in the refrigerator overnight. A quick 5‑minute warm bath in lukewarm water can revive any loss of texture.
Best Reheating Method
To refresh a chilled or frozen tart, place it in a preheated oven at 300°F (150°C) for 5 minutes. This gentle heat restores the mousse’s silky feel without melting the chocolate. If the crust has softened, a brief bake at 350°F (175°C) for 2 minutes will crisp it back up.