I was in the middle of a frantic Tuesday night, the kind where the kids have already raided the pantry, the dog is whining for a bite, and you’re staring at a pot of boiling pasta that’s about to turn into a mushy nightmare. I reached for the usual dairy‑based cheese sauce, only to remember I’m on a vegan diet and my fridge was looking at me with an apologetic emptiness. I threw together a half‑hearted almond‑milk blend, tasted it, and instantly knew I’d just invented a culinary tragedy. That moment of disappointment sparked a tiny, stubborn fire in my kitchen brain: “There has to be a faster, creamier, truly cheesy solution that doesn’t involve a grocery‑store trip for specialty cheeses.”
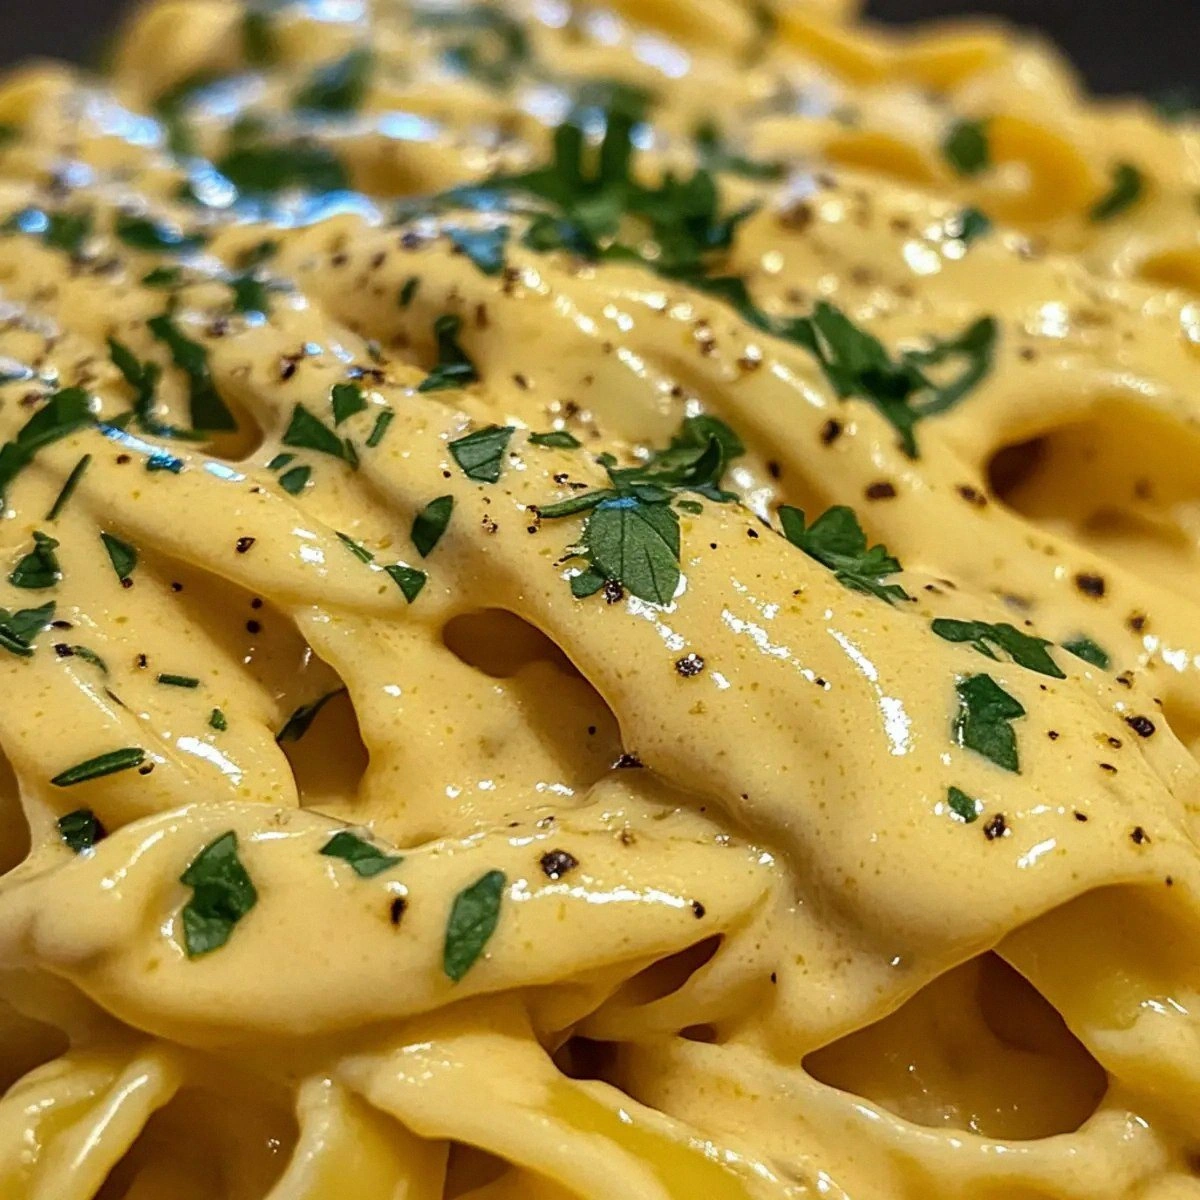
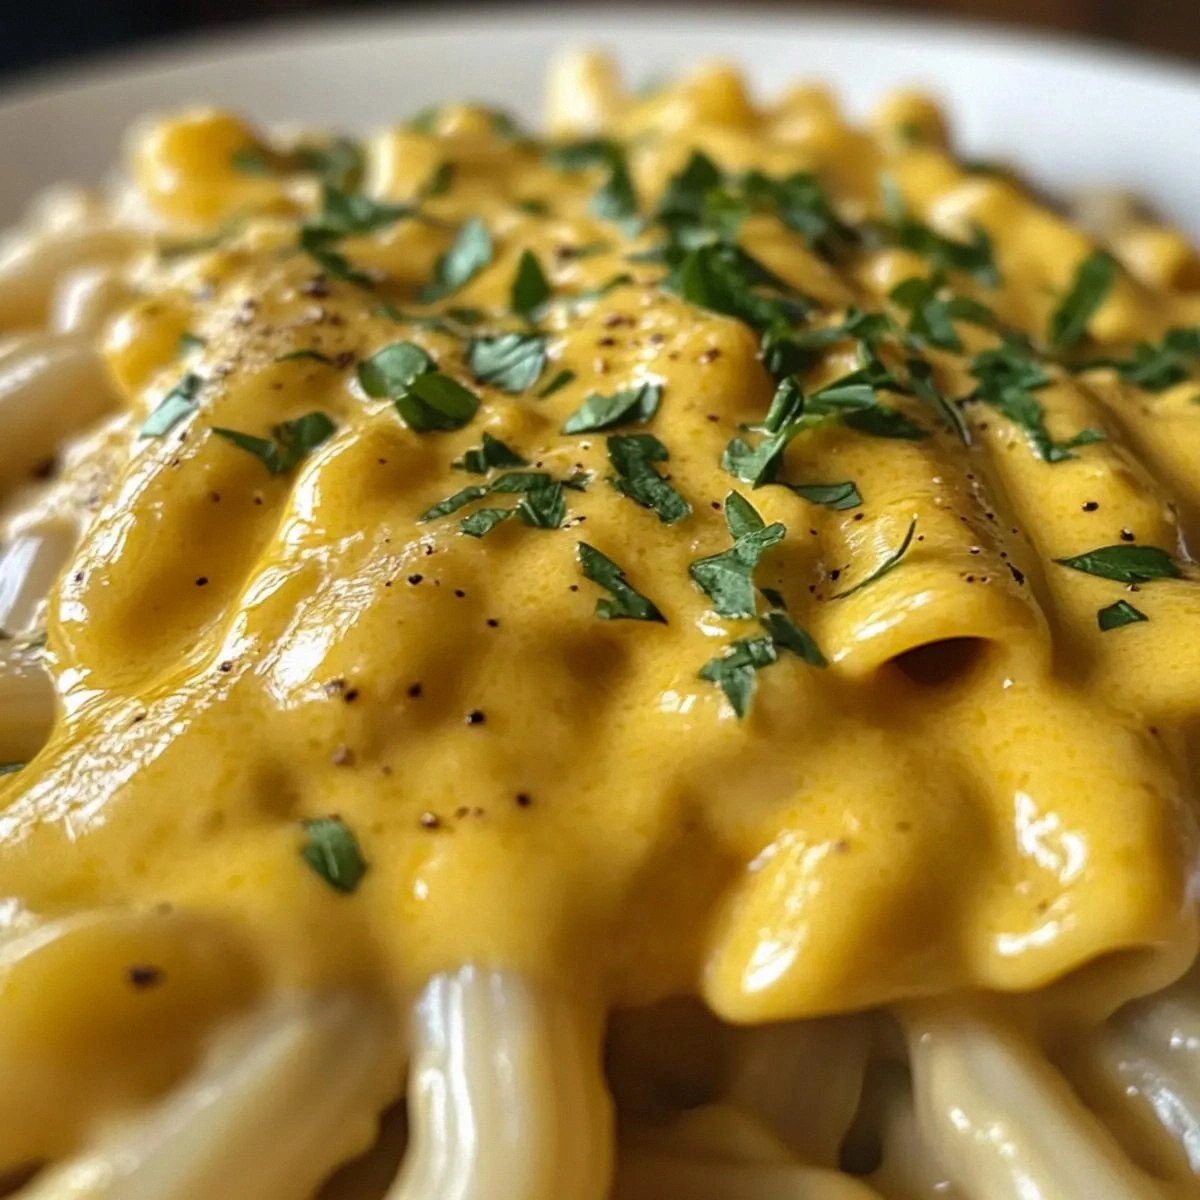
Fast forward a few weeks, a handful of white beans, a splash of plant‑based milk, and a generous dusting of nutritional yeast later, and I’ve conjured a sauce that makes my taste buds do a happy dance. Imagine a velvety river of golden‑amber coating every noodle, every roasted cauliflower floret, every crunchy nacho chip. The aroma hits you like a warm hug—nutty, slightly buttery, with a whisper of tang that reminds you of the classic dairy version, but without a single animal product in sight. The texture? Silky smooth, thick enough to cling to a fork yet pourable enough to drizzle, like a dream you can actually taste.
What makes this version truly stand out is the secret weapon: cooked white beans. They bring a natural creaminess that no amount of cornstarch or cashews can match, and they keep the sauce light enough that you won’t feel like you’ve just swallowed a brick. The whole thing comes together in under five minutes—yes, you read that right, five minutes from start to sauce‑dripping perfection. Most recipes try to overcomplicate things with extra steps, exotic ingredients, or a blender that sounds like a jet engine. Here, we keep it simple, we keep it fast, and we keep it ridiculously delicious. I dare you to taste this and not go back for seconds.
Okay, ready for the game‑changer? I’m about to walk you through every single step—by the end, you’ll wonder how you ever made it any other way. This isn’t just a recipe; it’s a revelation, a shortcut to comfort food that feels like it took hours of simmering. Stay with me here — this is worth it.
What Makes This Version Stand Out
- Flavor: The combination of nutritional yeast and a splash of vinegar creates that sharp, cheesy tang you crave, while the beans add a subtle earthiness that grounds the sauce.
- Texture: The beans give a naturally creamy body, eliminating the need for heavy cream or cashew paste, so the sauce stays silky without separating.
- Simplicity: Only eight pantry staples are required, and no blender or fancy equipment is needed—just a saucepan and a whisk.
- Speed: From the moment you turn on the burner to the moment you drizzle, it’s a five‑minute sprint, perfect for busy weeknights.
- Crowd Reaction: Even the most die‑hard cheese lovers (including my carnivorous brother) have begged for the recipe, declaring it “the best vegan cheese sauce ever.”
- Ingredient Quality: White beans are a protein powerhouse, and nutritional yeast supplies B‑vitamins, making this sauce both indulgent and nutritious.
- Method: Gentle simmering instead of high‑heat blending preserves the delicate flavors and prevents a gritty texture.
- Make‑Ahead Potential: Store leftovers in the fridge for up to three days, and they’ll re‑heat like fresh, thanks to the bean base.
Inside the Ingredient List
The Flavor Base
The star of the flavor base is nutritional yeast. This golden powder is the secret behind the “cheesy” taste, delivering a deep, umami richness that mimics the sharpness of aged cheddar. If you skip it, you’ll lose that signature tang and the sauce will feel flat, like a bland broth. A good quality brand will have a nutty aroma; cheap versions can taste bitter, so I always recommend the one labeled “fortified.” As a quick swap, you can use a tablespoon of miso paste for a different but equally savory depth.
The Texture Crew
Cooked white beans are the unsung heroes here. They provide a creamy, protein‑rich backbone that thickens the sauce without any dairy. When blended, they become almost invisible, leaving only a silky mouthfeel. If you’re allergic to beans, try silken tofu—just be aware the flavor will shift slightly toward a softer profile. When buying beans, opt for a low‑sodium canned variety or cook them yourself to control the salt level.
The Unexpected Star
A splash of white or apple cider vinegar might sound odd in a cheese sauce, but that acidity cuts through the richness, brightening the overall palate. It’s the same trick chefs use when adding a dash of lemon to a béchamel. Without it, the sauce can feel heavy after a few bites. If you’re out of vinegar, a teaspoon of lemon juice works in a pinch, though the flavor will be slightly fruitier.
The Final Flourish
Buttery spread or olive oil adds a luxurious sheen and a subtle richness that makes the sauce feel indulgent. I prefer a plant‑based buttery spread because it adds a faint buttery note without the cholesterol. Skipping this step will make the sauce a little too “wet” and it won’t cling to pasta as nicely. For a smoky twist, try a drizzle of smoked olive oil right at the end.
Everything's prepped? Good. Let's get into the real action…
The Method — Step by Step
Grab a medium‑sized saucepan and set it over medium heat. Add the buttery spread or olive oil and let it melt, watching it swirl like a tiny golden lake. As soon as you see a gentle shimmer, toss in the cooked white beans. That sizzle when it hits the pan? Absolute perfection. Stir for about 30 seconds so the beans get a light toast—this step builds a deeper flavor foundation.
Now, pour in the milk of your choice—almond, soy, oat, whatever you fancy. I love oat milk for its natural creaminess, but soy works if you need extra protein. Bring the mixture to a gentle simmer; you’ll hear a soft bubbling that tells you the sauce is waking up. Watch closely—if it starts to boil aggressively, lower the heat; you don’t want a curdled disaster.
Time for the magic dust: sprinkle in the nutritional yeast, salt, garlic powder, and your chosen spices (I usually go with smoked paprika and a pinch of cayenne). Stir constantly with a whisk so the yeast dissolves completely, turning the mixture a rich amber. This next part? Pure magic. You’ll notice the sauce thickening within a minute, coating the back of the spoon like velvet.
Once the sauce has reached a thick, glossy consistency, turn off the heat and stir in the vinegar. The acidity will instantly brighten the flavor, making the sauce sing. You’ll see a subtle swirl as the vinegar integrates—this is the moment of truth, and it should smell slightly tangy yet still buttery.
Give the sauce a quick taste. If it feels a touch too thick, whisk in a tablespoon of extra milk; if it needs more “cheesy” punch, sprinkle a little more nutritional yeast. Remember, seasoning is personal—trust your palate. I’ll be honest — I ate half the batch before anyone else got to try it.
Now, if you’re serving it over pasta, immediately toss the hot noodles into the saucepan. The sauce will cling like a second skin, coating each strand evenly. If you’re using it as a dip, simply transfer to a serving bowl and watch the crowd gather. The aroma will fill the kitchen, and you’ll hear the inevitable “Mmm” from everyone within seconds.
Serve immediately, but if you need to keep it warm, set the saucepan over the lowest heat setting, stirring every couple of minutes. The sauce will stay glossy and won’t form a skin as long as you keep it moving. Picture yourself pulling this out of the oven, the whole kitchen smelling incredible… The visual of that glossy pool is enough to make anyone’s stomach rumble.
Finally, garnish with a sprinkle of extra nutritional yeast, a dash of smoked paprika, or fresh chopped chives for color. This final touch adds visual appeal and an extra flavor pop. And there you have it—your five‑minute masterpiece is ready to devour. That’s it — you did it. But hold on, I've got a few more tricks that'll take this to another level…
Insider Tricks for Flawless Results
The Temperature Rule Nobody Follows
Never rush the heating stage. Starting on medium heat allows the beans to release their natural starches gradually, which creates that velvety body. If you crank the heat up, the milk can scorch on the bottom, leaving a burnt flavor that’s impossible to mask. I once tried a “quick‑heat” method and ended up with a sauce that tasted like scorched toast—lesson learned. Keep the temperature steady, and you’ll get a smooth, uniform consistency every time.
Why Your Nose Knows Best
Your sense of smell is a more reliable indicator than a timer. When the sauce begins to emit a nutty, slightly sweet aroma (thanks to the yeast), you know the flavor base is fully developed. If the scent is still raw or milky, keep whisking a few seconds longer. Trusting your nose prevents under‑seasoned or over‑cooked outcomes, and it adds a fun sensory checkpoint to the process.
The 5‑Minute Rest That Changes Everything
After you finish cooking, let the sauce sit uncovered for five minutes. This short rest allows the flavors to meld, and the beans continue to thicken the mixture naturally. Skipping this step can leave the sauce a tad watery, especially if you used a low‑fat milk. I’ve seen friends pour the sauce straight onto pasta and end up with a soupy mess—don’t be that person.
Spice Layering Like a Pro
Instead of dumping all your spices at once, add half at the beginning and the rest just before the vinegar. This technique creates depth: the early spices infuse the base, while the later addition brightens the final flavor. A friend tried adding everything at the end and complained the sauce tasted one‑dimensional. Layering is the secret to a multi‑dimensional palate.
The Secret of the Bean Blend
If you have a high‑speed immersion blender, blend the beans directly in the saucepan for an ultra‑smooth texture. If you don’t, a potato masher works surprisingly well—just mash until there are no large chunks. The smoother the bean base, the silkier the final sauce. I once used a regular fork and ended up with a slightly grainy texture; not a disaster, but not the velvety dream I was aiming for.
Creative Twists and Variations
This recipe is a playground. Here are some of my favorite ways to switch things up:
Spicy Jalapeño Kick
Add a finely diced jalapeño along with the garlic powder. The heat balances the richness and gives the sauce a lively zing. Perfect for nachos or a Mexican‑style pasta.
Smoky Chipotle Delight
Swap the smoked paprika for chipotle powder and a dash of liquid smoke. This creates a deep, smoky flavor that pairs beautifully with roasted sweet potatoes.
Herbaceous Green Goddess
Blend in a handful of fresh basil or parsley right at the end. The herbaceous notes turn the sauce into a bright, spring‑time topping for grilled vegetables.
Umami Mushroom Boost
Sauté finely chopped mushrooms with the beans before adding the milk. The earthy mushroom depth adds an extra layer of umami, making the sauce a star for grain bowls.
Citrus Zest Surprise
Stir in a teaspoon of lemon or lime zest just before serving. The citrus lifts the sauce, giving it a fresh finish that works wonders on seafood‑free sushi rolls.
Storing and Bringing It Back to Life
Fridge Storage
Transfer the cooled sauce to an airtight container and store it in the refrigerator for up to three days. The beans keep the sauce stable, and the flavor actually deepens after a night. When you’re ready to use it, simply reheat over low heat, stirring constantly.
Freezer Friendly
For longer storage, portion the sauce into freezer‑safe bags or containers and freeze for up to two months. Thaw overnight in the fridge, then gently warm on the stovetop, adding a splash of milk or water to restore the original creaminess.
Best Reheating Method
Reheat on the stovetop over low heat, whisking continuously. If the sauce looks a little thick, add a teaspoon of water or milk per cup of sauce—this steams it back to perfect pourability. Avoid microwaving at high power, as it can cause uneven heating and a grainy texture.