Celebrate with Colorful Funfet
Picture this: I was in the middle of a midnight snack run, a bag of stale crackers, a flickering stove, and a sudden craving for something that could double as a party centerpiece. The kitchen smelled like burnt toast and old coffee, the lights flickered, and my friend dared me to whip up a cake that could outshine the rainbow of a sunset. I laughed, grabbed my apron, and decided this was the moment to turn a kitchen mishap into a masterpiece. The result? A cake that bursts with color and flavor, a flag that flies in your living room, and a story that will get everyone begging for seconds. I’ve been calling it “Celebrate with Colorful Funfet” because it’s literally a celebration in a bite.
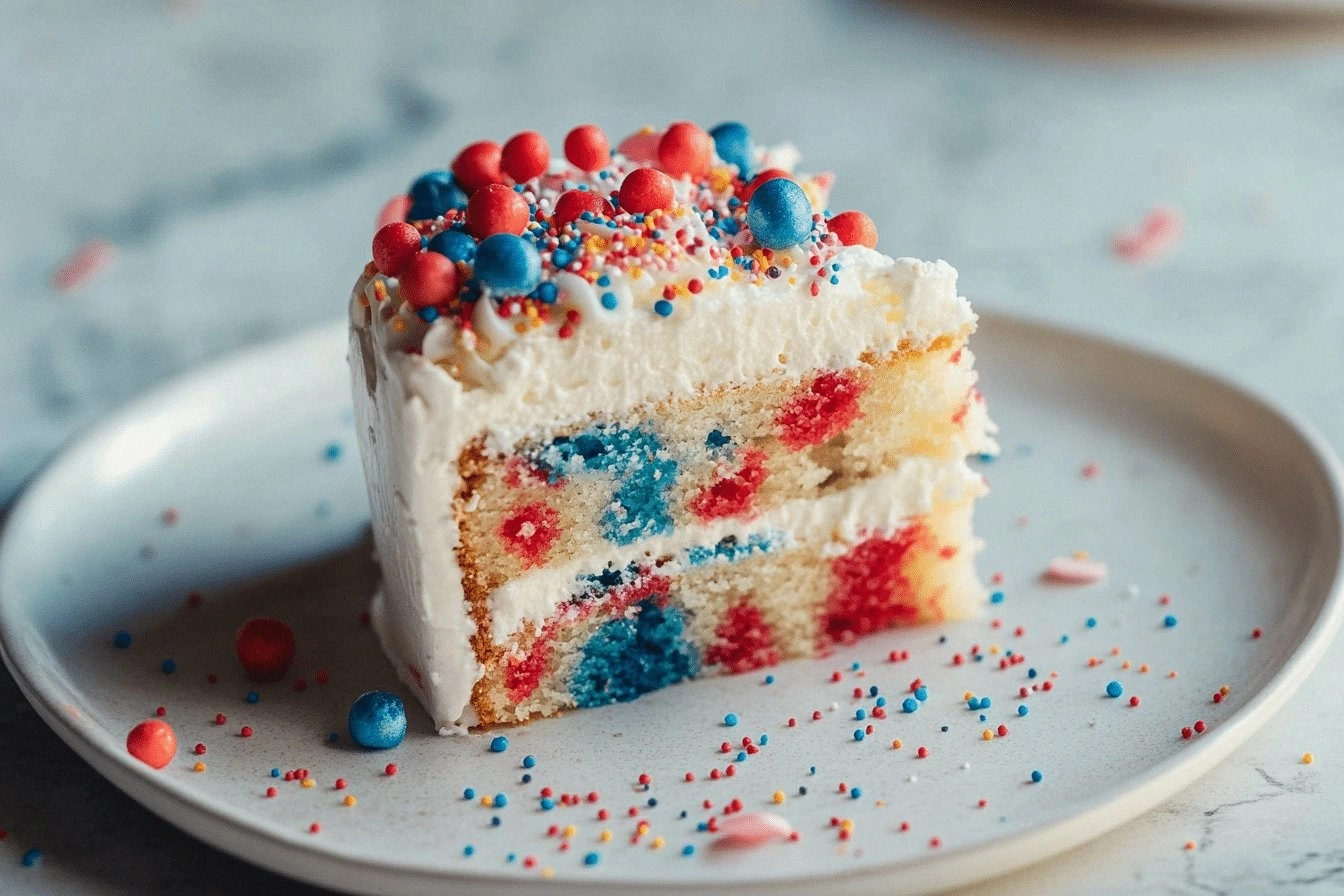
The first thing you notice is the visual explosion: swirls of bright sprinkles trapped in fluffy layers that look like a carnival parade. As the batter hits the oven, the air fills with the sweet scent of butter and vanilla, a perfume that makes you close your eyes and smile. The sound of the timer ticking, the gentle crackle of the oven door, and the occasional sigh of anticipation are the soundtrack of this baking ritual. When you pull it out, the cake shimmers under the kitchen light, and the scent of freshly baked dough mingles with a hint of citrus from the sprinkles. The texture is a paradox: a soft, airy crumb that melts in your mouth, yet a slight crunch from the rainbow candies that gives it a playful bite.
What makes this version a game‑changer is that it doesn’t rely on fancy ingredients or complicated techniques. It uses simple pantry staples, but the trick is in the layering and the color contrast that turns a plain cake into a flag of joy. The batter is light enough to rise like a cloud, yet dense enough to hold the sprinkles without them sinking. The frosting is buttery and smooth, but with a splash of red and blue that makes the flag look authentic without any food dye that tastes chemical. And the best part? You can pull it out of the oven and serve it immediately, or let it chill and become a showstopper for any occasion.
I’ll be honest, I ate half the batch before anyone else got a chance to try it, but that’s the sign you’re onto something special. The next step is where the magic happens: the secret technique that locks the sprinkles into place and gives the cake that signature pop. I dare you to taste this and not go back for seconds because the flavor is so vibrant it’s almost impossible to forget. Picture yourself pulling this out of the oven, the whole kitchen smelling incredible, and watching your friends’ faces light up. Let me walk you through every single step — by the end, you’ll wonder how you ever made it any other way.
What Makes This Version Stand Out
- Flavor: The combination of vanilla, butter, and rainbow sprinkles creates a taste that feels like a childhood memory with a modern twist. The sprinkles add a subtle crunch that keeps each bite interesting.
- Texture: The batter is light yet sturdy, allowing the layers to rise without collapsing. The sprinkles are evenly distributed, giving a uniform crunch throughout.
- Simplicity: No fancy equipment required; a standard mixer and a 9x13 pan will do. The recipe can be made in under an hour, making it ideal for last‑minute celebrations.
- Color: The flag design is achieved with just red and blue food coloring, no need for specialty dyes. The result is a vibrant, photo‑ready cake that will wow guests.
- Make‑ahead: The cake can be baked, cooled, and frosted a day in advance. The sprinkles stay fresh and the frosting stays smooth when refrigerated.
- Audience: Whether you’re a seasoned baker or a kitchen novice, the steps are clear and forgiving. Even the most hesitant can produce a professional‑looking cake.
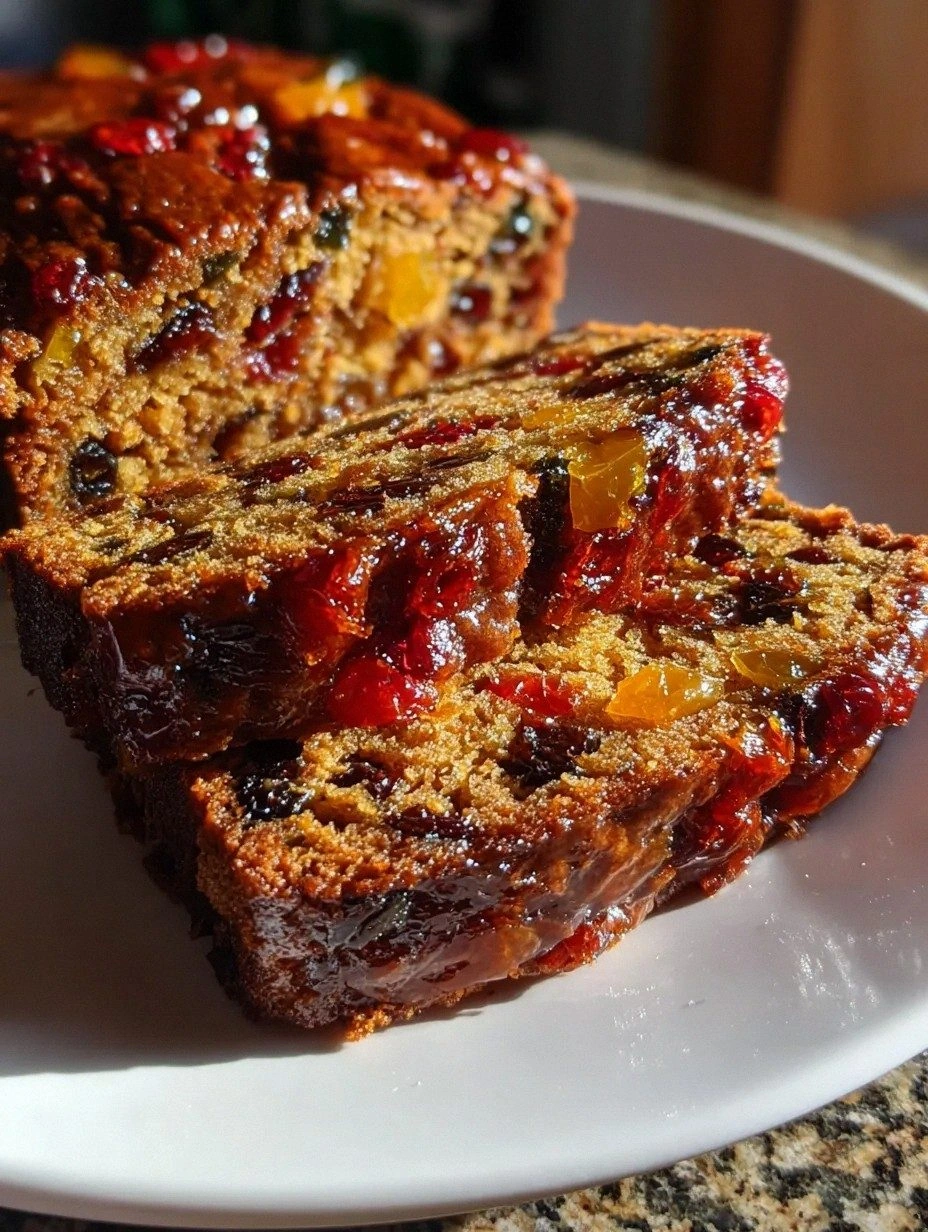
- Versatility: Swap the sprinkles for chocolate chips, nuts, or dried fruit to tailor the cake to any theme. The base stays the same, so you can experiment freely.
Inside the Ingredient List
The Flavor Base
All-purpose flour is the backbone of this cake, giving it structure and a pleasant mouthfeel. It absorbs the butter and liquid, allowing the batter to rise evenly. Skipping the flour would result in a dense, flat cake that can't hold the sprinkles.
Baking powder is the secret lift that turns the batter from a heavy paste into a cloud of lightness. Without it, the cake would be heavy and lifeless. If you don't have baking powder, a homemade blend of baking soda and cream of tartar will work in a pinch.
Salt is the silent enhancer that balances sweetness and brings out the richness of butter and vanilla. Too little salt and the cake tastes flat; too much and it becomes bitter. A pinch of sea salt is the sweet spot for this recipe.
Sugar is the sweetener that also helps retain moisture and creates a golden crust. White granulated sugar gives a clean sweetness; using brown sugar would add a molasses note that changes the flavor profile. If you prefer a lower-carb version, a sugar substitute that measures like sugar works fine.
Vanilla extract adds depth and warmth, turning the batter from sweet to complex. A high-quality vanilla bean paste is the best, but a few drops of pure vanilla extract will do. If you love a stronger aroma, double the amount.
Milk or buttermilk provides moisture and helps dissolve the sugar, giving the batter a silky feel. Buttermilk adds a subtle tang that brightens the flavor; plain milk keeps it neutral. The choice depends on your taste preference.
The Texture Crew
Butter is the fat that gives the cake a tender crumb and a buttery aftertaste. Room-temperature butter creamed with sugar creates air pockets that lift the cake. If you use cold butter, the batter will be denser.
Eggs bind the batter together and add richness. Each egg adds structure and a subtle flavor that makes the cake rise. If you’re vegan, replace eggs with flaxseed eggs or a commercial egg replacer.
Buttermilk is optional but highly recommended because its acidity reacts with the baking powder for extra lift and a slightly tangy flavor. If you don’t have buttermilk, add a tablespoon of lemon juice or vinegar to milk and let it sit for 5 minutes.
The Unexpected Star
Rainbow sprinkles are the showstopper that gives the cake its flag‑like appearance. They lock into the batter, creating a pop of color with every bite. If you want a more subtle look, use pastel-colored sprinkles or a single color.
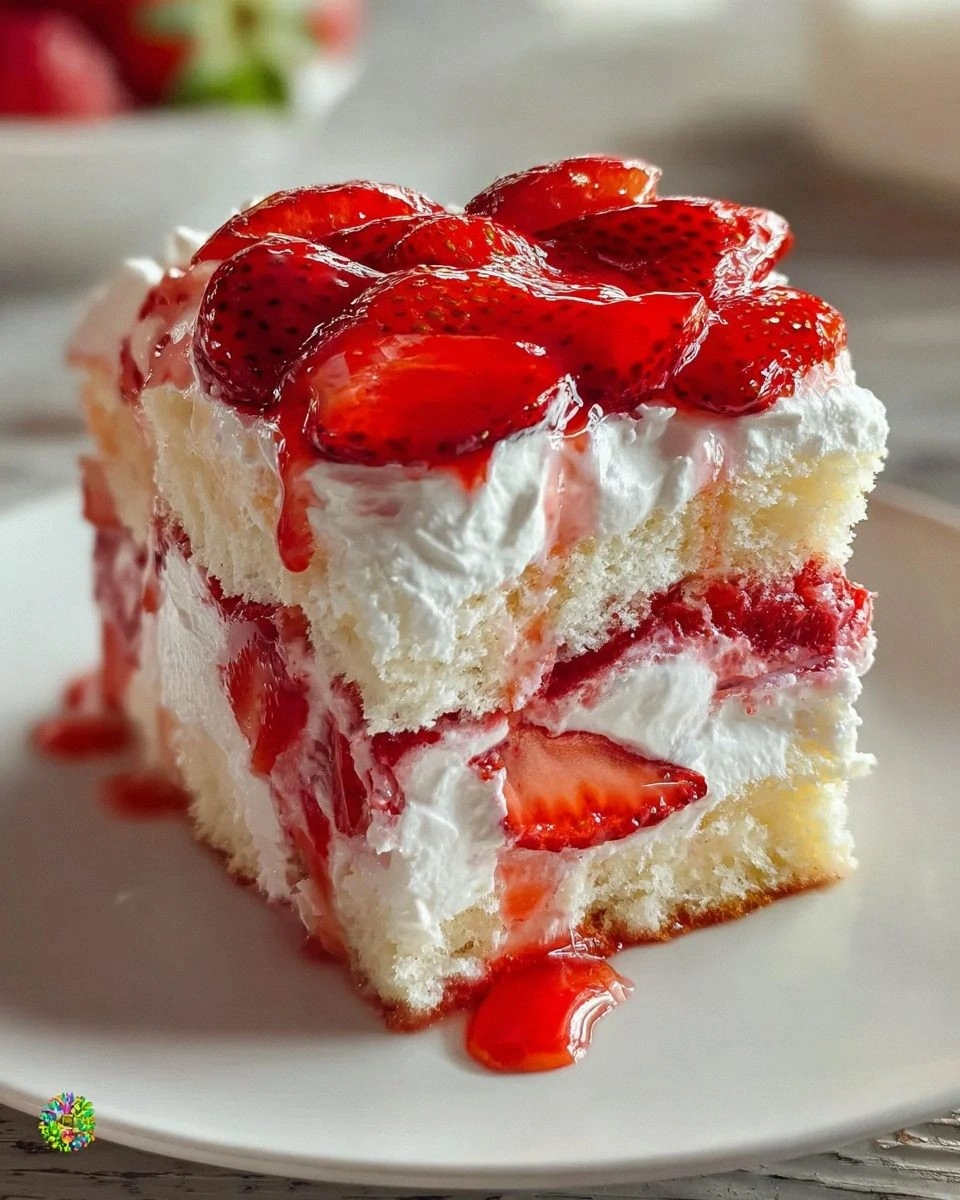
Fresh berries, such as strawberries and blueberries, add a burst of natural color and a juicy contrast to the sweet batter. They also bring a subtle tartness that balances the sweetness. If berries are out of season, frozen berries can be used—just thaw them and pat dry before adding.
The Final Flourish
Buttercream frosting is the silky coating that holds the flag design together and adds a creamy finish. A classic buttercream made with powdered sugar and butter is smooth and sweet; adding a splash of heavy cream makes it lighter.
Red and blue food coloring are the finishing touches that transform the frosting into a patriotic flag. Use a few drops for a subtle hue; more will give a vibrant, saturated color. If you’re allergic to artificial dyes, opt for natural food coloring made from beet juice or spirulina.
Everything's prepped? Good. Let's get into the real action...
The Method — Step by Step
- Preheat and Prep: Set your oven to 350°F (175°C) and grease a 9x13-inch pan with butter or non‑stick spray. Line the bottom with parchment paper for easy release. This step ensures a smooth, even bake and prevents the cake from sticking.
- Dry Mix: In a large bowl, whisk together 2 cups of all‑purpose flour, 2 teaspoons of baking powder, and ½ teaspoon of salt. The dry mix must be well blended so the leavening is distributed evenly. Skipping this step or mixing unevenly will ruin the cake’s rise.
- Butter & Sugar: In a separate bowl, beat 1 cup of softened butter with 1½ cups of sugar until light and fluffy. This process incorporates air, which is essential for a light crumb. A few minutes of vigorous beating is key; don’t rush.
- Eggs & Vanilla: Add 4 large eggs one at a time, beating well after each addition, then stir in 2 teaspoons of vanilla extract. The eggs bind the batter and add richness. Each egg should be fully incorporated before adding the next.
- Combine Wet & Dry: Gradually fold the dry mixture into the wet, alternating with 1 cup of milk or buttermilk. Stir until just combined; over‑mixing will develop gluten and make the cake tough. Watch Out: Be careful not to over‑mix the batter. Once the flour is incorporated, the batter should look lumpy, not smooth.
- Add Sprinkles: Gently fold in 1 cup of rainbow sprinkles, ensuring they are evenly distributed. This step locks the color into the cake. If you want a more uniform look, press the sprinkles into the batter with a spatula.
- Pour & Swirl: Transfer the batter to the prepared pan and spread it evenly. Using a knife or skewer, swirl a few times to create a marbled effect that mimics a flag. This not only looks good but also ensures a consistent texture.
- Bake: Place the pan in the oven and bake for 30–35 minutes, or until a toothpick inserted in the center comes out clean. The cake should have a golden‑brown top and a slight spring when pressed. Keep an eye on the edges; they should pull away from the pan.
- Cool: Remove the cake from the oven and let it cool in the pan for 10 minutes, then transfer to a wire rack to cool completely. Cooling is essential before frosting to prevent the buttercream from melting. Kitchen Hack: While the cake cools, whip the buttercream frosting and color it with a few drops of red and blue food coloring. This saves time and ensures the frosting is ready when the cake is done.
- Frost & Flag: Once the cake is cool, spread a thin crumb coat of buttercream and chill for 15 minutes. Then apply a final thick layer, smoothing the sides. Use a small offset spatula to create a clean flag border and add a small flag icon with the remaining frosting. If you want to add fresh berries, place them along the flag’s edge for a natural accent.
That's it — you did it. But hold on, I've got a few more tricks that'll take this to another level. From choosing the right pan to mastering the frosting technique, the next section will make your cake the envy of every party guest.
Insider Tricks for Flawless Results
The Temperature Rule Nobody Follows
Always let your butter and eggs come to room temperature before starting. Cold ingredients create steam pockets that can cause the batter to split, leading to a lumpy cake. A simple trick: place the butter in a bowl and leave it on the counter for 30 minutes; the same goes for eggs. This ensures a smooth, even batter.
Why Your Nose Knows Best
When the cake is halfway through baking, open the oven door briefly and sniff the air. A sweet, buttery aroma that lingers indicates a well‑baked cake. If the smell is too sugary or burnt, pull it out early and let it finish cooling on a rack.
The 5‑Minute Rest That Changes Everything
After removing the cake from the oven, let it sit in the pan for 5 minutes. This allows the cake to set and makes it easier to lift from the pan. Skipping this step often results in a cake that cracks or sticks.
Frosting Consistency Is Key
If your buttercream is too thick, add a tablespoon of milk or cream to loosen it. If it’s too runny, chill it for 10 minutes and then whip again. A medium consistency ensures the frosting spreads smoothly and holds the flag design.
The Flag Design Hack
Use a small offset spatula or a pastry bag with a fine tip to create clean lines for the flag. A second layer of frosting helps to seal the edges and prevent the flag from curling. If you’re nervous, practice on a sheet of parchment first.
Storing the Sprinkles
Keep the sprinkles in an airtight container in a cool, dry place. They last for months, but exposure to heat or moisture will make them lose their crunch. If you notice them clumping, gently stir them with a fork to restore texture.
Creative Twists and Variations
This recipe is a playground. Here are some of my favorite ways to switch things up:
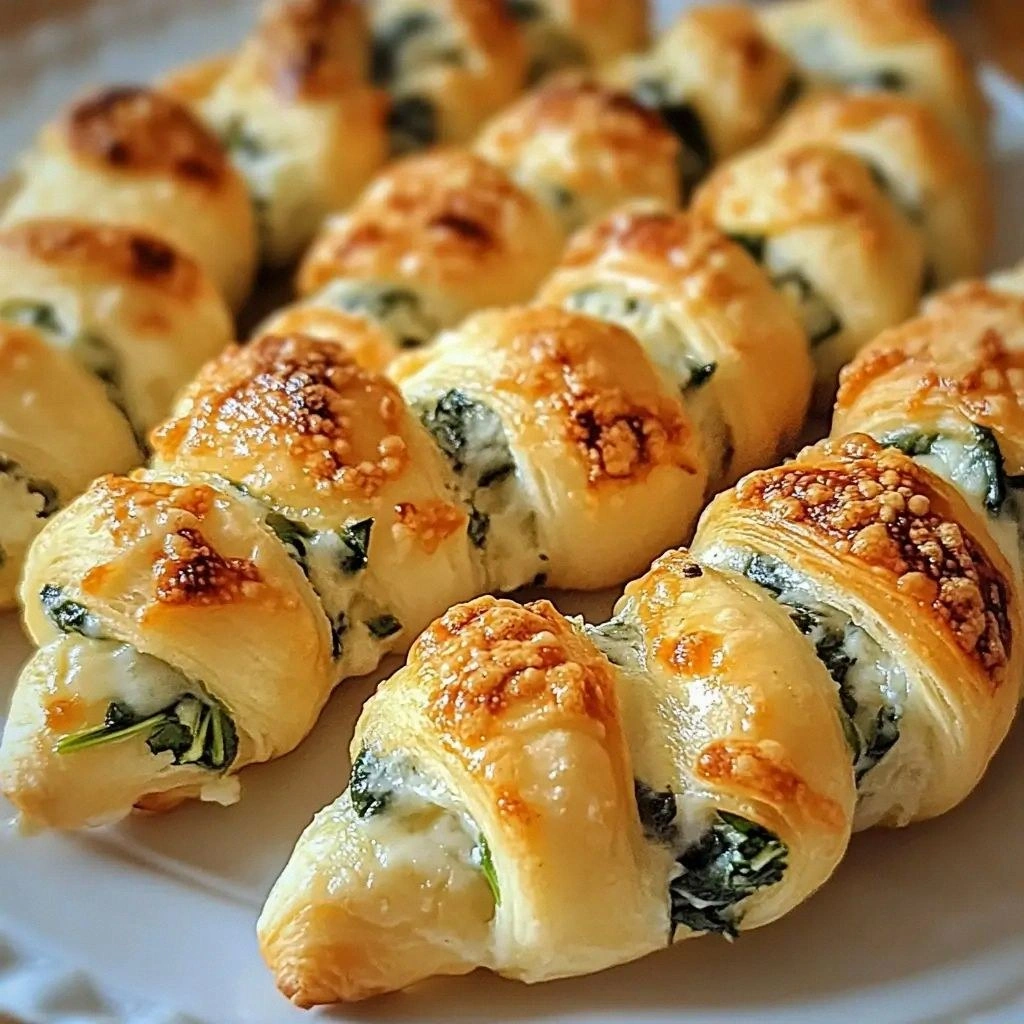
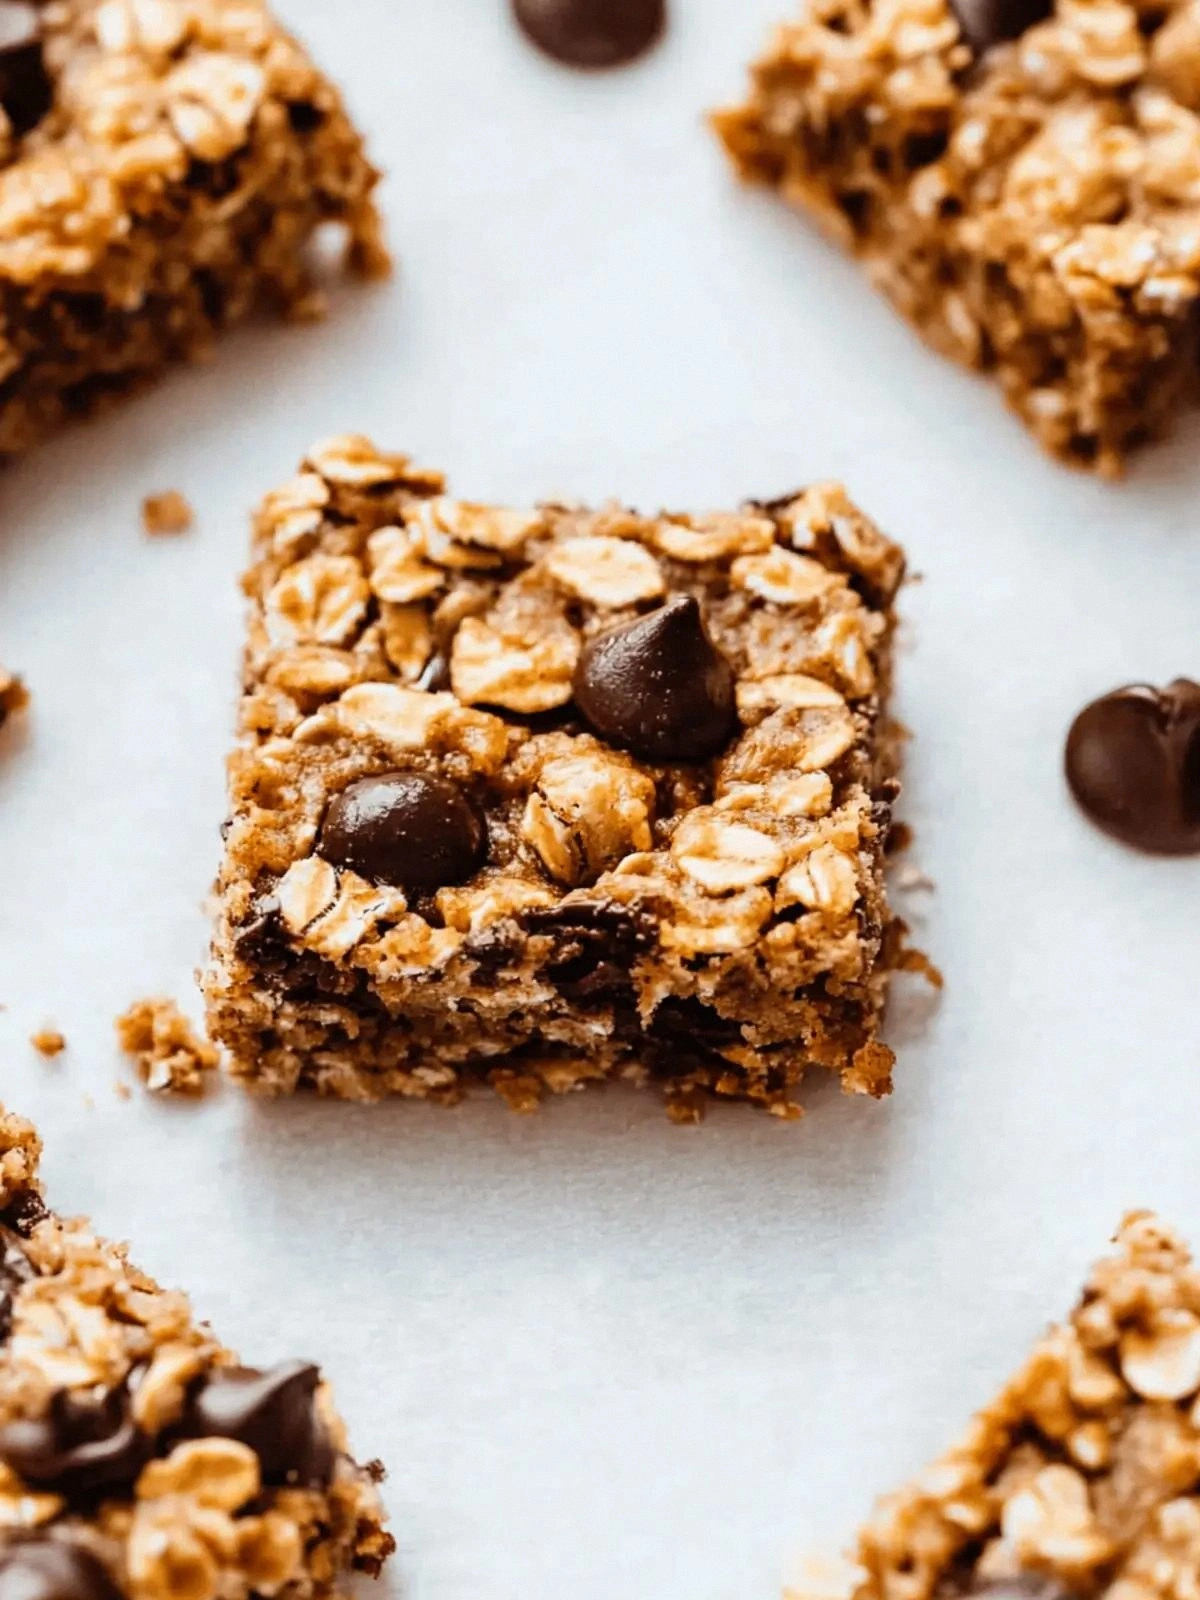
Chocolate‑Covered Funfet
Swap the rainbow sprinkles for chocolate chips and add a drizzle of melted dark chocolate over the top. The chocolate adds a deep, bittersweet note that balances the sweetness of the cake. This version is perfect for chocolate lovers.
Nutty Surprise
Add chopped pecans or walnuts to the batter for a crunchy texture and nutty flavor. Toast the nuts lightly before adding for a toasted aroma. The nuts also provide a savory contrast to the sweet frosting.
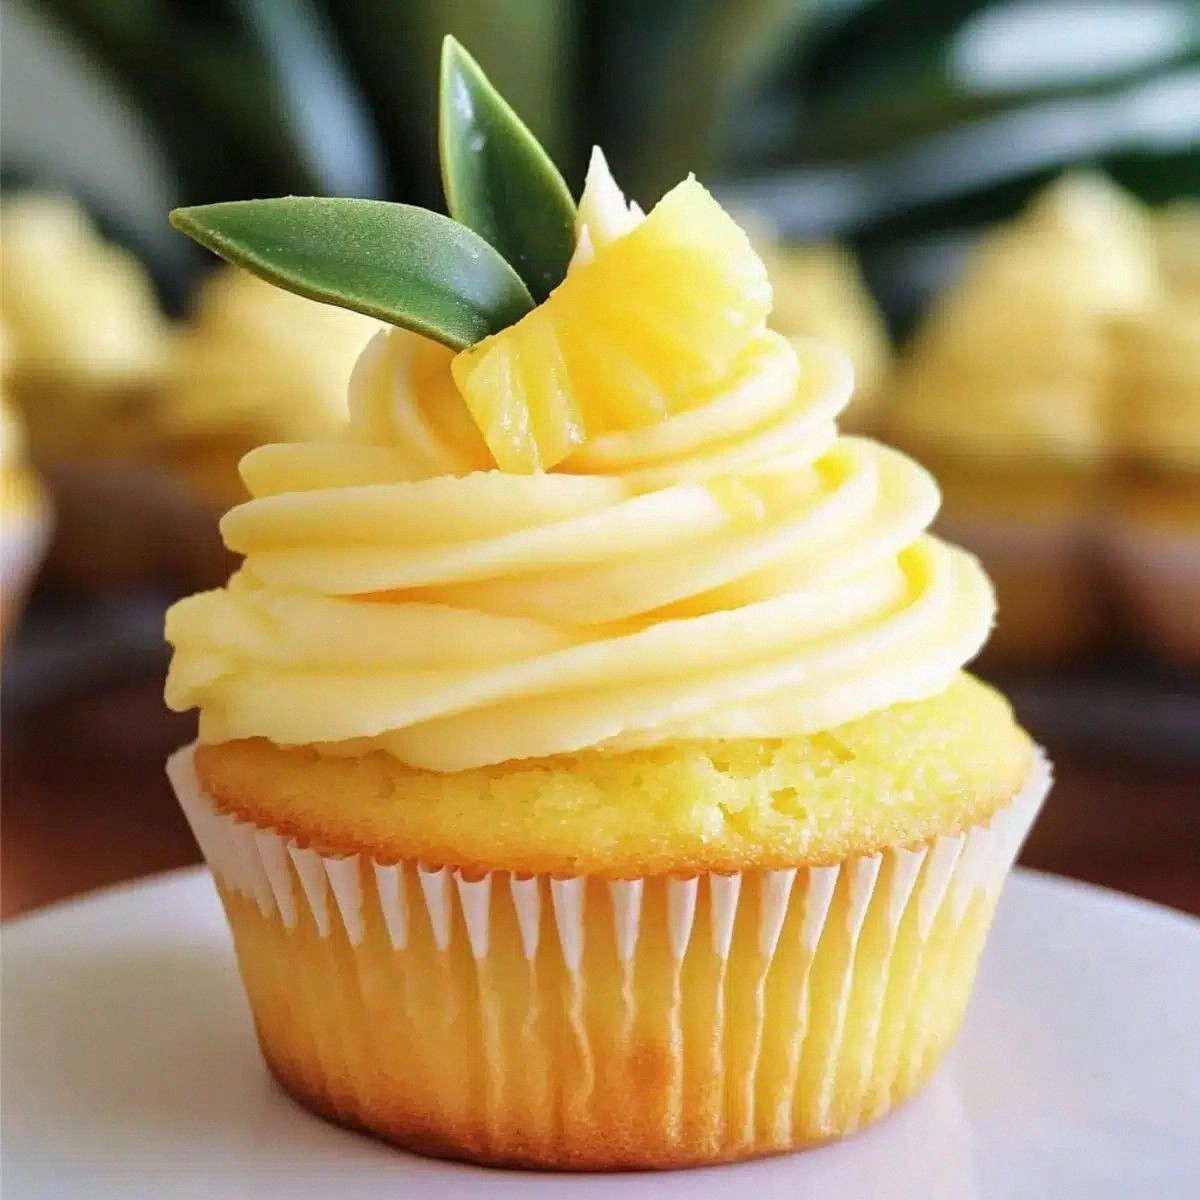
Fruit‑Burst Edition
Replace the rainbow sprinkles with diced fresh mango or pineapple. The tropical fruit adds a juicy burst of flavor and a colorful pop. Pair it with a coconut buttercream for an extra tropical twist.
Herbal Infusion
Infuse the milk with a sprig of rosemary or thyme before whisking it into the batter. The herb adds a subtle earthy note that pairs surprisingly well with the sweet cake. A pinch of dried lavender also works beautifully.
Spiced Wonder
Add a teaspoon of ground cinnamon or nutmeg to the dry mix. The warm spice elevates the flavor profile, making the cake feel cozy and comforting. This variation is ideal for fall or winter celebrations.
Gluten‑Free Adaptation
Use a 1:1 gluten‑free flour blend in place of all-purpose flour. Ensure the blend contains xanthan gum for structure. The cake will still rise well and hold the sprinkles, just with a slightly different crumb.
Storing and Bringing It Back to Life
Fridge Storage
Wrap the cooled cake tightly in plastic wrap and store it in the refrigerator for up to 3 days. The frosting remains firm, and the cake stays moist. When you’re ready to serve, let it sit at room temperature for 20 minutes to soften the frosting.
Freezer Friendly
Wrap the cake in foil and then in plastic wrap before freezing. It can stay in the freezer for up to 2 months. Thaw it overnight in the fridge, then let it come to room temperature before serving.
Best Reheating Method
To revive a chilled cake, place it in a preheated oven at 300°F for 10 minutes. The heat will gently warm the cake without melting the frosting. Add a tiny splash of water to the bottom of the pan to create steam and keep the crumb moist.