7‑Layer Taco Dip Cups: A Party‑Ready Appetizer That Packs a Punch
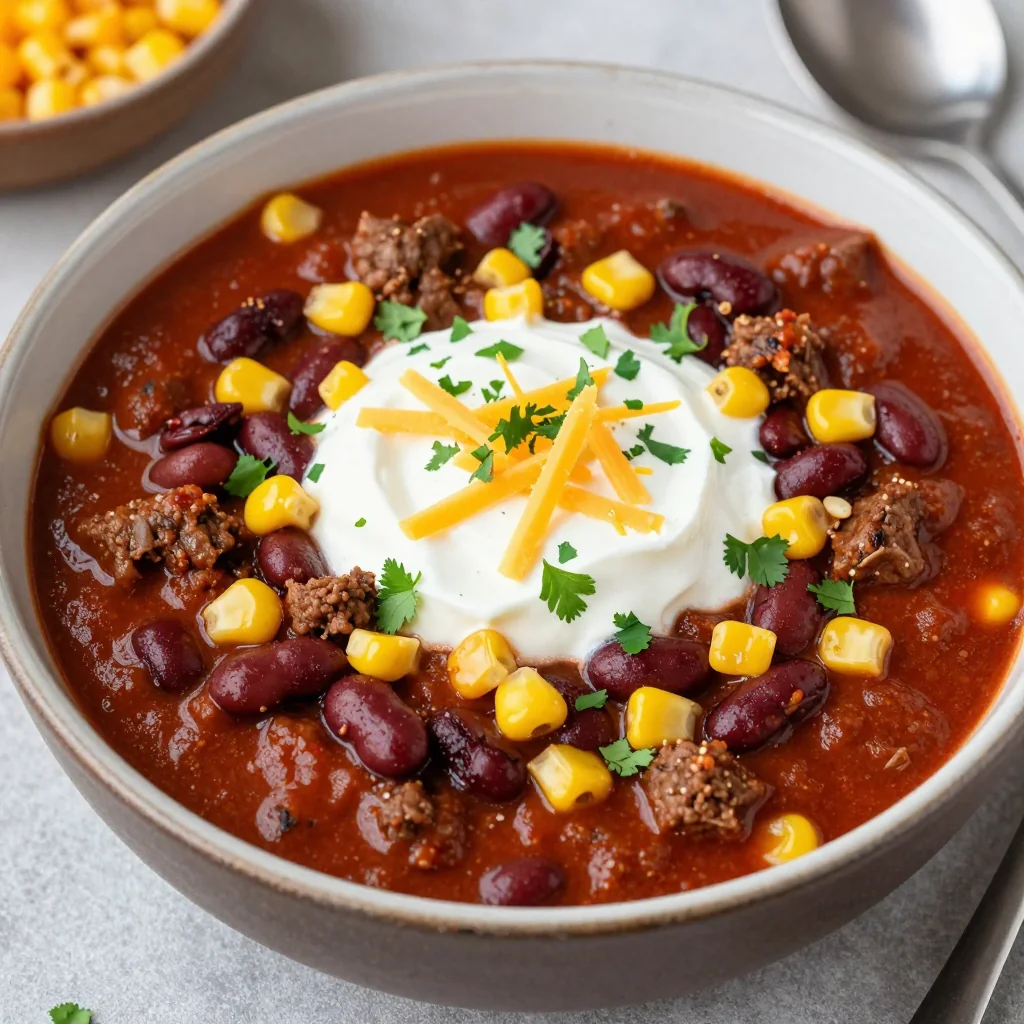
When the invitation says “bring a crowd‑pleaser” and the clock is ticking, you need a recipe that dazzles, delights, and disappears before anyone can say “¡más!” Our 7‑Layer Taco Dip Cups are exactly that—a vibrant, handheld twist on the classic Mexican‑inspired dip that turns every bite into a celebration of texture, flavor, and color. Imagine a crisp, buttery tortilla cup brimming with creamy refried beans, tangy seasoned sour cream, cool guacamole, zesty salsa, sharp cheddar, fresh lettuce, and a final sprinkle of seasoned taco meat or black beans for a vegetarian spin. Each layer is thoughtfully layered to keep the cup sturdy while delivering a burst of taste that makes guests reach for another—without the mess of a traditional dip bowl.
This appetizer shines at any gathering: backyard barbecues, game‑day watch parties, birthday celebrations, or even a casual Friday night with friends. The individual cups are perfect for portion control, allowing you to serve a variety of flavors on a single platter without the hassle of spooning. Plus, the recipe is flexible enough to accommodate dietary preferences, from gluten‑free tortilla shells to dairy‑free alternatives, ensuring nobody feels left out of the fiesta. The bright visual appeal of the seven layers also makes it a natural fit for social‑media sharing—just think of the Instagram likes when you post that perfectly stacked cup shot!
Below you’ll find a deep dive into why this recipe earns a permanent spot on your appetizer repertoire, a detailed ingredient breakdown, step‑by‑step instructions, pro tips, creative variations, storage guidelines, and answers to the most common questions. Ready to become the host with the most? Let’s dive in and start building those delicious taco dip cups!
Why You’ll Love This Recipe
- Hand‑held convenience – no bowls, no mess.
- Visually stunning seven‑layer presentation.
- Customizable for meat‑eaters, vegetarians, and vegans.
- Quick assembly – perfect for last‑minute gatherings.
- Portion‑controlled, making calorie counting easier.
- Uses pantry staples you likely already have.
- Pairs beautifully with a variety of drinks, from margaritas to craft beers.
Ingredients Breakdown
- Mini tortilla cups – 24 (store‑bought or homemade)
- Refried beans – 1 ½ cups (canned or homemade)
- Seasoned ground beef – 1 lb (or 1 lb black beans for a vegetarian version)
- Sour cream – 1 cup
- Lime juice – 2 tbsp
- Guacamole – 1 cup (store‑bought or mashed avocado mixed with salt)
- Salsa fresca (pico de gallo) – 1 cup
- Shredded cheddar cheese – 1 cup
- Shredded lettuce – 1 cup
- Fresh cilantro – ¼ cup, chopped (optional)
- Jalapeño slices – for garnish
- Salt & pepper – to taste
- Olive oil spray – for crisping the cups (if making from scratch)
Step‑by‑Step Instructions
- Prepare the tortilla cups. If using store‑bought mini cups, place them on a baking sheet. If you prefer homemade, cut small circles from flour tortillas, press them into a mini‑muffin tin, lightly spray with olive oil, and bake at 375 °F (190 °C) for 6‑8 minutes until golden and crisp. Let cool.
- Cook the seasoned meat. In a skillet over medium heat, brown 1 lb ground beef, breaking it up with a spoon. Drain excess fat, add taco seasoning (or a blend of chili powder, cumin, garlic powder, and paprika), and simmer with ¼ cup water for 5 minutes. For a vegetarian version, heat 1 lb canned black beans with the same spices.
- Season the sour cream. In a small bowl, combine 1 cup sour cream, 2 tbsp lime juice, a pinch of salt, and ½ tsp taco seasoning. Mix until smooth and set aside.
- Layer the beans. Spoon a generous tablespoon of refried beans into the bottom of each tortilla cup, spreading evenly.
- Add the seasoned meat (or beans). Top the bean layer with 1 tbsp of the cooked ground beef or black beans.
- Spread the seasoned sour cream. Add a dollop (≈ ½ tbsp) of the lime‑infused sour cream over the meat layer, smoothing it out.
- Layer guacamole. Drop a small spoonful of guacamole on top of the sour cream, spreading gently to keep the cup shape.
- Top with salsa. Spoon a thin layer of fresh salsa over the guacamole.
- Sprinkle cheese. Evenly distribute shredded cheddar cheese across all cups.
- Add lettuce. Place a small handful of shredded lettuce on top of the cheese for crunch.
- Garnish. Finish each cup with a few cilantro leaves, a jalapeño slice, and an extra pinch of taco seasoning if desired.
- Serve immediately. Arrange the cups on a platter and serve with lime wedges and extra salsa on the side.
Pro Tips & Tricks
- Make the cups ahead. Bake or purchase the tortilla cups up to 24 hours in advance; store them in an airtight container to retain crispness.
- Layer consistency. Keep each layer thin but even. Too much of one component can cause the cup to become soggy.
- Customize the heat. Add chopped chipotle peppers in adobo sauce to the sour cream for a smoky kick, or swap regular salsa for a roasted‑tomato salsa.
- Cheese alternatives. Try pepper jack, cotija, or a dairy‑free cheddar shreds for extra flavor.
- Gluten‑free option. Use corn‑based mini taco shells or gluten‑free tortilla chips cut and baked into cup shapes.
- Make it a dip. If you prefer a communal dip, simply layer the ingredients in a deep dish and serve with tortilla chips.
Variations & Substitutions
Feel free to experiment with the following swaps to match your taste buds or dietary needs:
- Protein swap: Use shredded rotisserie chicken, grilled shrimp, or crumbled chorizo instead of ground beef.
- Bean base: Replace refried beans with black bean hummus, pinto beans, or a layer of corn salsa.
- Dairy‑free: Substitute sour cream with Greek‑style coconut yogurt and cheddar with vegan cheese shreds.
- Extra veggies: Add a thin layer of roasted corn, diced bell peppers, or pickled red onions for added texture.
- Spice level: Incorporate diced serrano or habanero peppers into the salsa, or drizzle hot sauce over the final garnish.
- Herb boost: Mix fresh oregano or Mexican oregano into the meat seasoning for a fragrant twist.
Storage Tips
To keep your taco dip cups fresh and crunchy:
- Store the assembled cups in a single layer inside an airtight container in the refrigerator for up to 24 hours. The crispness may soften after the first 12 hours, so consider adding the lettuce and jalapeño garnish just before serving.
- If you need to make them ahead of time, keep the wet layers (sour cream, guacamole, salsa) in separate small containers and assemble the cups 30‑45 minutes before guests arrive.
- Re‑crisp the tortilla cups by placing them on a baking sheet and baking at 350 °F (175 °C) for 3‑4 minutes before adding fresh layers.
Frequently Asked Questions
7‑Layer Taco Dip Cups
Prep: 20 min | Cook: 15 min | Total: 35 min
Ingredients
Instructions
- Pre‑heat oven to 375 °F (190 °C) if baking homemade cups.
- Cook and season the ground beef (or black beans) with taco seasoning.
- Mix sour cream, lime juice, and a pinch of taco seasoning.
- Assemble each cup layer‑by‑layer as described in the main instructions.
- Garnish with cilantro, jalapeño, and a final sprinkle of cheese.
- Serve immediately or keep refrigerated (up to 24 hrs) with fresh toppings added just before serving.
Nutrition (per cup)
Calories: 180 kcal | Protein: 9 g | Carbohydrates: 14 g | Fat: 10 g | Sodium: 320 mg